
Fall Floral Crochet Granny Square | FREE Pattern & Video Tutorial
The Fall Floral Crochet Granny Square is the perfect project for the season. You will find the FREE pattern and video tutorial below.
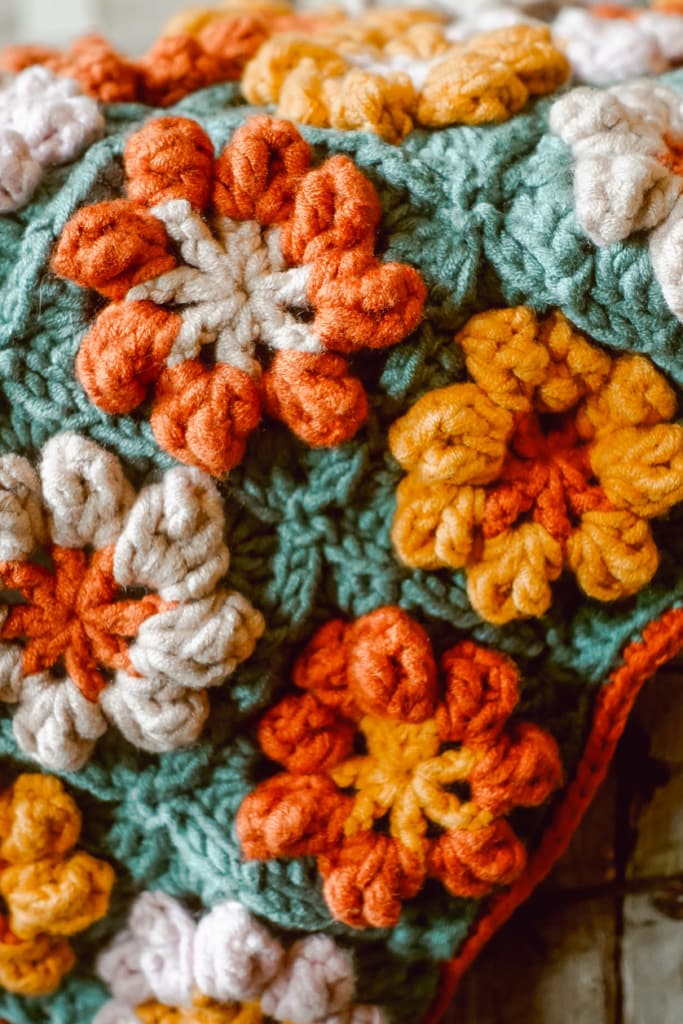
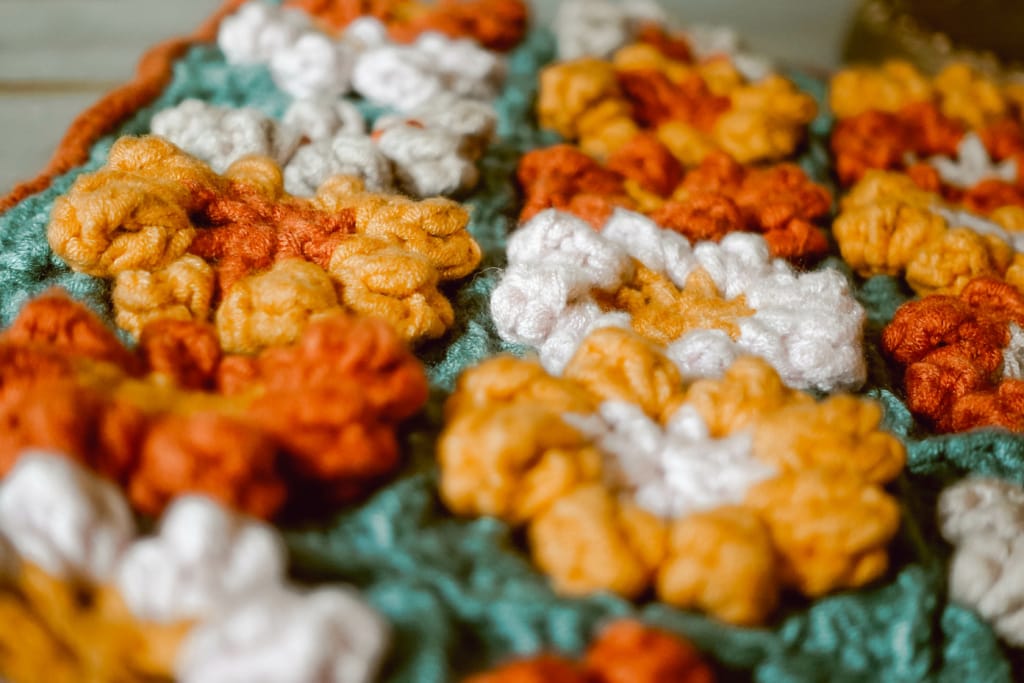
Fall Floral Crochet Granny Square Project
The Fall Floral Crochet Granny Square was inspired by the glorious autumn that we are on the cusp of here in North Carolina.
Our landscape is getting ready to burst forth with the most spectacular colors and Mother Nature is getting ready to show off.
We are beginning to see little hints that all of that is just a few weeks away.
Fall Floral Crochet Granny Square Table Runner Video Tutorial
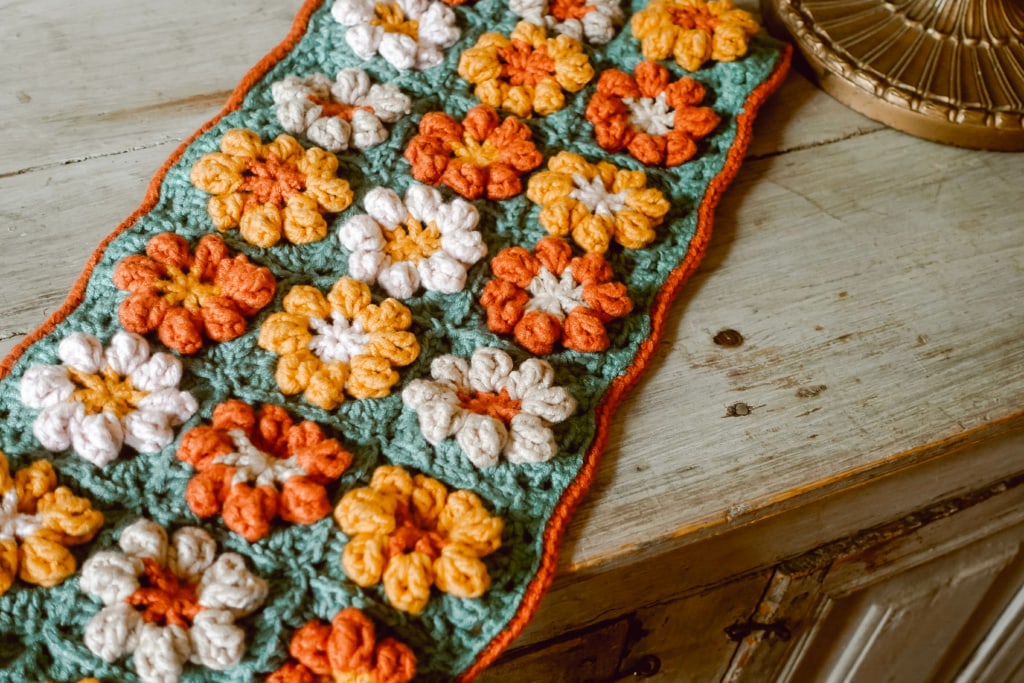
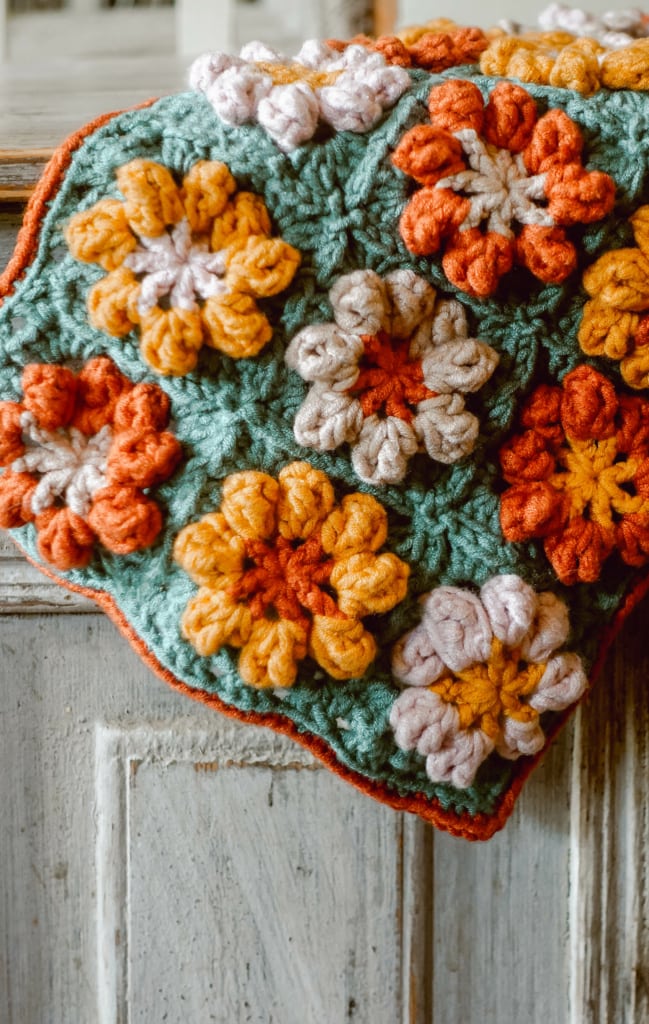
You can make your Fall Florals Crochet Granny Square into anything your heart desires, but I decided to make a pretty table runner.
I love adding small bits of seasonal decor around my home and being handmade is even better.
Incorporating the color palette that surrounds us here in the Piedmont of North Carolina was my primary inspiration. We will soon see our trees erupt in the most gorgeous yellows, reds, oranges and browns in every shade.
Check Out All My Granny Square Posts Here

This post contains affiliates links and at no cost to you I may earn a teeny tiny commission if you choose to purchase them. Please know that I only recommend products I use and love! Thank you for supporting Le Petit Saint Crochet! You can read my full (and slightly boring) full disclosure here.
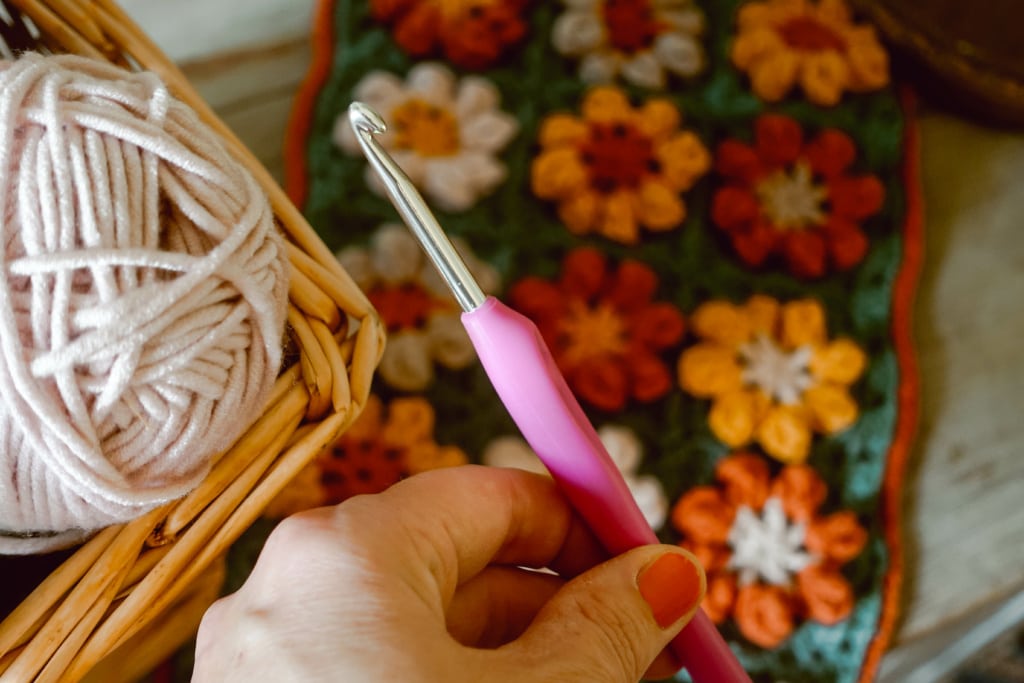
Materials
You may use any weight yarn and hook size that you would like. I chose to use a worsted weight yarn and a 5 mm crochet hook.
You will also need:


When choosing a hook size make sure to look at your yarn label to see what hook size is recommended.
I chose five different colors, but don’t be afraid to use what you already have in your stash!
Yarn I Used
I used the Yarn Bee Comfy Classic yarn in the colors


Fall Floral Round 1
- Using color A, ch 4, join with a slp st into the first ch to make a ring (or use a Magic Ring)
- Ch 5 (acts as first dc + ch 2), dc into the ring, ch 2 (7 more times) – you will have a total of 8 dc + ch 2
- Join to the top of the ch 3, (if you used a Magic Ring – close the ring) fasten off and weave in ends
Fall Floral Round 2
- With color B join yarn and work into ch 2 space from previous round, ch 4 + 3 treble st in the same space, leaving a long loop, take out hook and insert in the top of the ch 4, pull long loop through (popcorn st), ch 2
- 4 treble crochet in the next space, leaving a long loop, take out hook and insert in the top of the first treble, pull loop through (popcorn st) ch 2
- Make 6 more popcorn st with ch 2 space between each
- Join to the top of the first ch 3, fasten off and weave in ends

Fall Floral Round 3
You will only make the first granny square exactly like this. With the second and subsequent granny squares we will be doing the Join-As-You-Go method, which you will find below.
- With color C join yarn and work into ch 2 space from previous round ch 3, 2 dc, ch 2, 3 dc (forms corner), ch 1
- Working into next ch 2 space from previous round 3 dc, ch 1 (forms side)
- Make a corner into the next ch 2 space with 3 dc, ch 2, 3 dc, ch 1
- Make another side, corner, side, corner and side
- Join to the top of the ch 3, fasten off and weave in ends
Join As You Go to Connect Granny Squares
(This makes a lot more sense when you watch the video tutorial).
You’ll find the written directions for how to join the granny squares below, but the video is very helpful and I show exactly how to do it.
I’m using the Join-As-You-Go method to connect my granny squares (and once you know how to do it, you’ll never want to join granny squares any other way!)
After completing all three rounds of your first square, you will begin your second square.
- When beginning Round 3 only complete the first corner and side as before.
- Begin the second corner by making 3 dc. But instead of ch 2, connect your square with a sl st to the ch 2 space corner of the 1st square.
- Ch 1, finish your 2nd square corner with 3 dc, but do not ch 1.
- Connect the 2nd square to the 1st square by sl st into the ch 1 space from the 1st square
- 3 dc, but do not ch 1.
- Connect the 2nd square to the 1st square by sl st into the ch 1 space from the 1st square,
- Begin the third corner by making 3 dc. But instead of ch 2, connect your square with a sl st to the ch 2 space corner of the 1st square
- Ch 1, finish your third square corner with 3 dc, ch 1
- Once the two granny squares are connected at the corner, side and corner continue around the rest of the square in pattern.
- Sl st to the top of the ch 3, fasten off and weave in ends.
When you need to connect your granny squares on two sides (when you have completed one whole row, plus one for the second row, you will do this).
- When beginning Round 3 only complete the first corner and side.
- Begin the 2nd corner by making 3 dc. But instead of ch 2, connect your square with a sl st to the ch 2 space corner of the adjoining square.
- Ch 1, finish your 2nd square corner with 3 dc, but do not ch 1.
- Connect the 2nd square to the adjoining square by sl st into the ch 1 space from the previous square.
- 3 dc, but do not ch 1.
- Connect the 2nd square to the 1st square by sl st into the ch 1 space from the 1st square,
- Begin the 3rd corner by making 3 dc. But instead of ch 2, connect your square with a sl st to the ch 2 space corner of the adjoining square and then connect your square with another sl st to the other ch 2 space corner of the square you are also connecting to.
- finish your corner with 3 dc, but do not ch 1.
- Connect the 2nd square to the adjoining square by sl st into the ch 1 space from the adjoining square.
- 3 dc, but do not ch 1.
- Connect the 2nd square to the adjoining square by sl st into the ch 1 space from the previous square.
- Begin the 4th corner by making 3 dc. But instead of ch 2, connect your square with a sl st to the ch 2 space corner of the adjoining square.
- Ch 1, finish your corner with 3 dc, ch 1
- Finish the granny square with 3 dc, ch 1
- Then sl st to the top of the ch 3, fasten off and weave in ends.
Border
Once you have joined all your squares together you are ready for the border.
For the border we are going to add a granny round around the entire project. It’s quite simple, but there is one area that will require a slightly different technique.
We will be adding granny clusters in each of the chain 1 spaces from Round 3 of our Fall Floral Granny Square, except for in the two connected corner spaces.
- Make 3 dc + 1 ch in each
In the two corner spaces that are joined from our joining round, we are going to do something a little different.
- Join the yarn in one of the four outward corner spaces
- Ch 3 (acts as your first dc), make 2 dc, 2 ch, 3 dc, ch 1
- Make 3 dc + ch 1 in ch 1 space
- Make another 3 dc +ch 1 in the next ch 1 space
- (We will now be working in the corner spaces that are next to one another from joining two squares together)
- In the first ch 2 corner, make one dc
- Next make a dc decrease across the first and second corner spaces. You will do this by starting a dc in the first corner, but don’t finish the dc, only pull through two loops.
- Then yarn over to make a dc into the second corner, yarn over and pull through two loops, then yarn over and pull through all three loops left on the hook.
- Finally make one last dc in the second ch 2 corner space.
- Continue in this pattern across the sides of the border
- At each of the three remaining corners make 3 dc, ch 2, 3 dc, ch 1
- When you’ve completed the entire round, sl st to the top of the ch 3, fasten off and weave in your ends.
What we’ve essentially done is to decrease the amount of 3 dc clusters we will be making. If we made 3 dc in each one of the ch 1 spaces and the corner spaces, we would end up with too many stitches.
It would cause the edge of our granny squares to ripple and ruffle, which isn’t what we want.
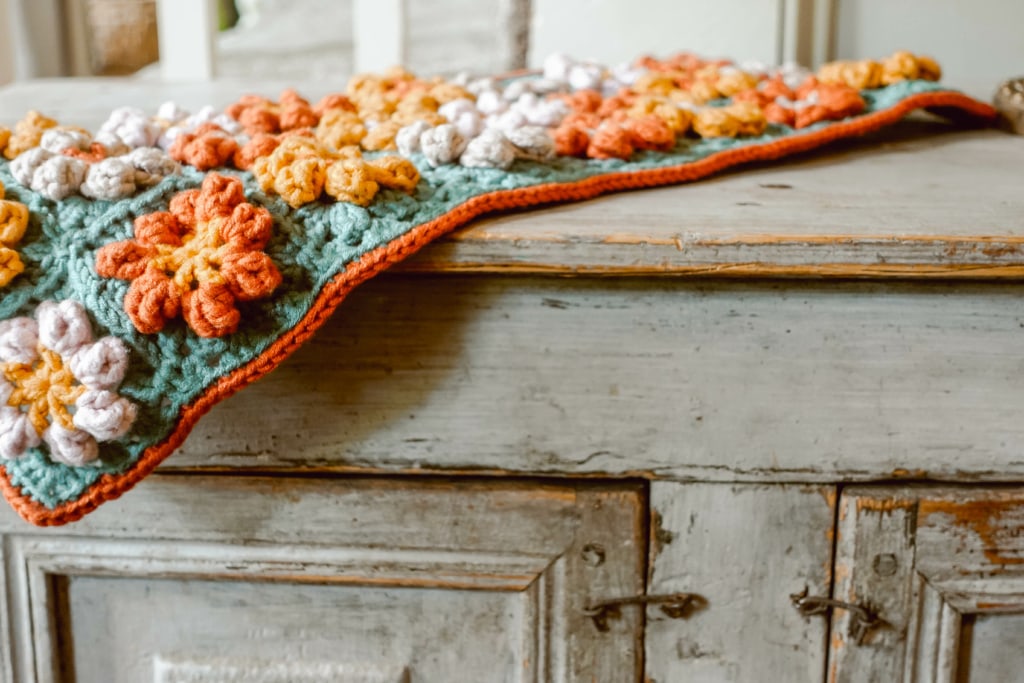
Fall Floral Crochet Granny Square Final Border
I made the final border in a contrasting Clay color.
- First, attach the yarn in any corner of your table runner (you only have four corners) with a standing sc in the BLO.
- Make a second sc in the BLO of the same st.
- Then make 1 sc in the BLO of every stitch, except for the other three corners make 2 sc in BLO.
- Sl st to the first sc, fasten off and weave in your ends.
Pin for Later – Fall Floral Crochet Granny Square!


One Comment