12 Beginner Amigurumi Tips From a Certified Crochet Instructor
In 12 Beginner Amigurumi Tips From a Certified Crochet Instructor you’ll find my best practices for making the handmade toys of your dreams.
Learning how to crochet amigurumi can be tough. My heart breaks when I hear from people who are giving up on the dream of being able to crochet amigurumi because they are struggling with one or more of these skills.
But that’s not going to be you, because we are going to deep dive into all of these techniques so you will be able to crochet toys with confidence.
Hi, I’m Elise and I’m a certified crochet instructor! My mission is to help you discover your own wonderful creativity through crocheting and knitting toys.
Say goodbye to doubt and hello to the cutest little critters!
Never Miss Another Post!
12 Beginner Amigurumi Tips
Holes
When you are crocheting amigurumi, it’s not uncommon to be frustrated about holes. They may be big or little, but no one wants them.
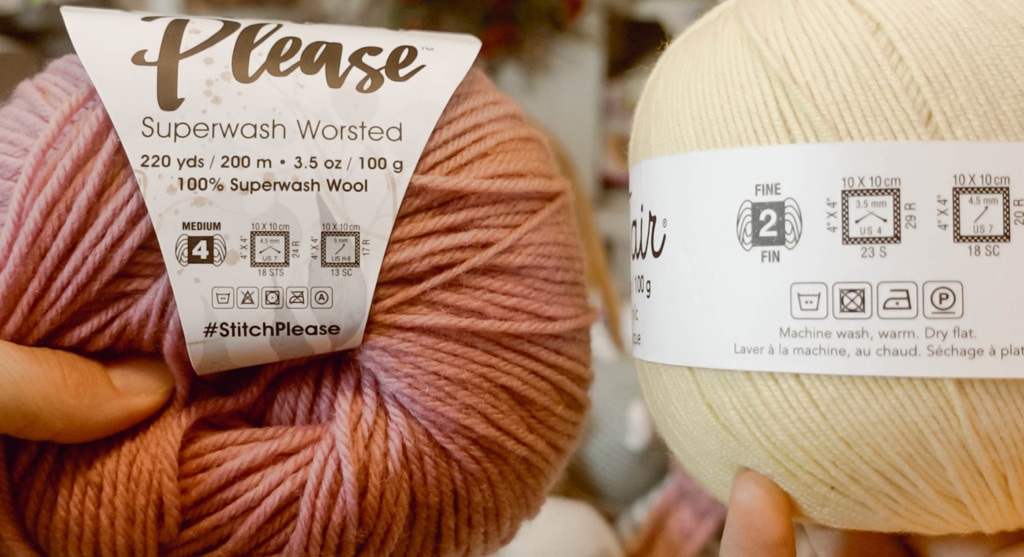
Typically unsightly holes are a combination of a few different things, but most of the time it’s about not having the right size hook for the yarn.
One of my best beginner amigurumi tips is to choose a hook size for the yarn you have by using this little formula:
Recommended hook size on label – 2 mm crochet hook sizes = amigurumi hook size
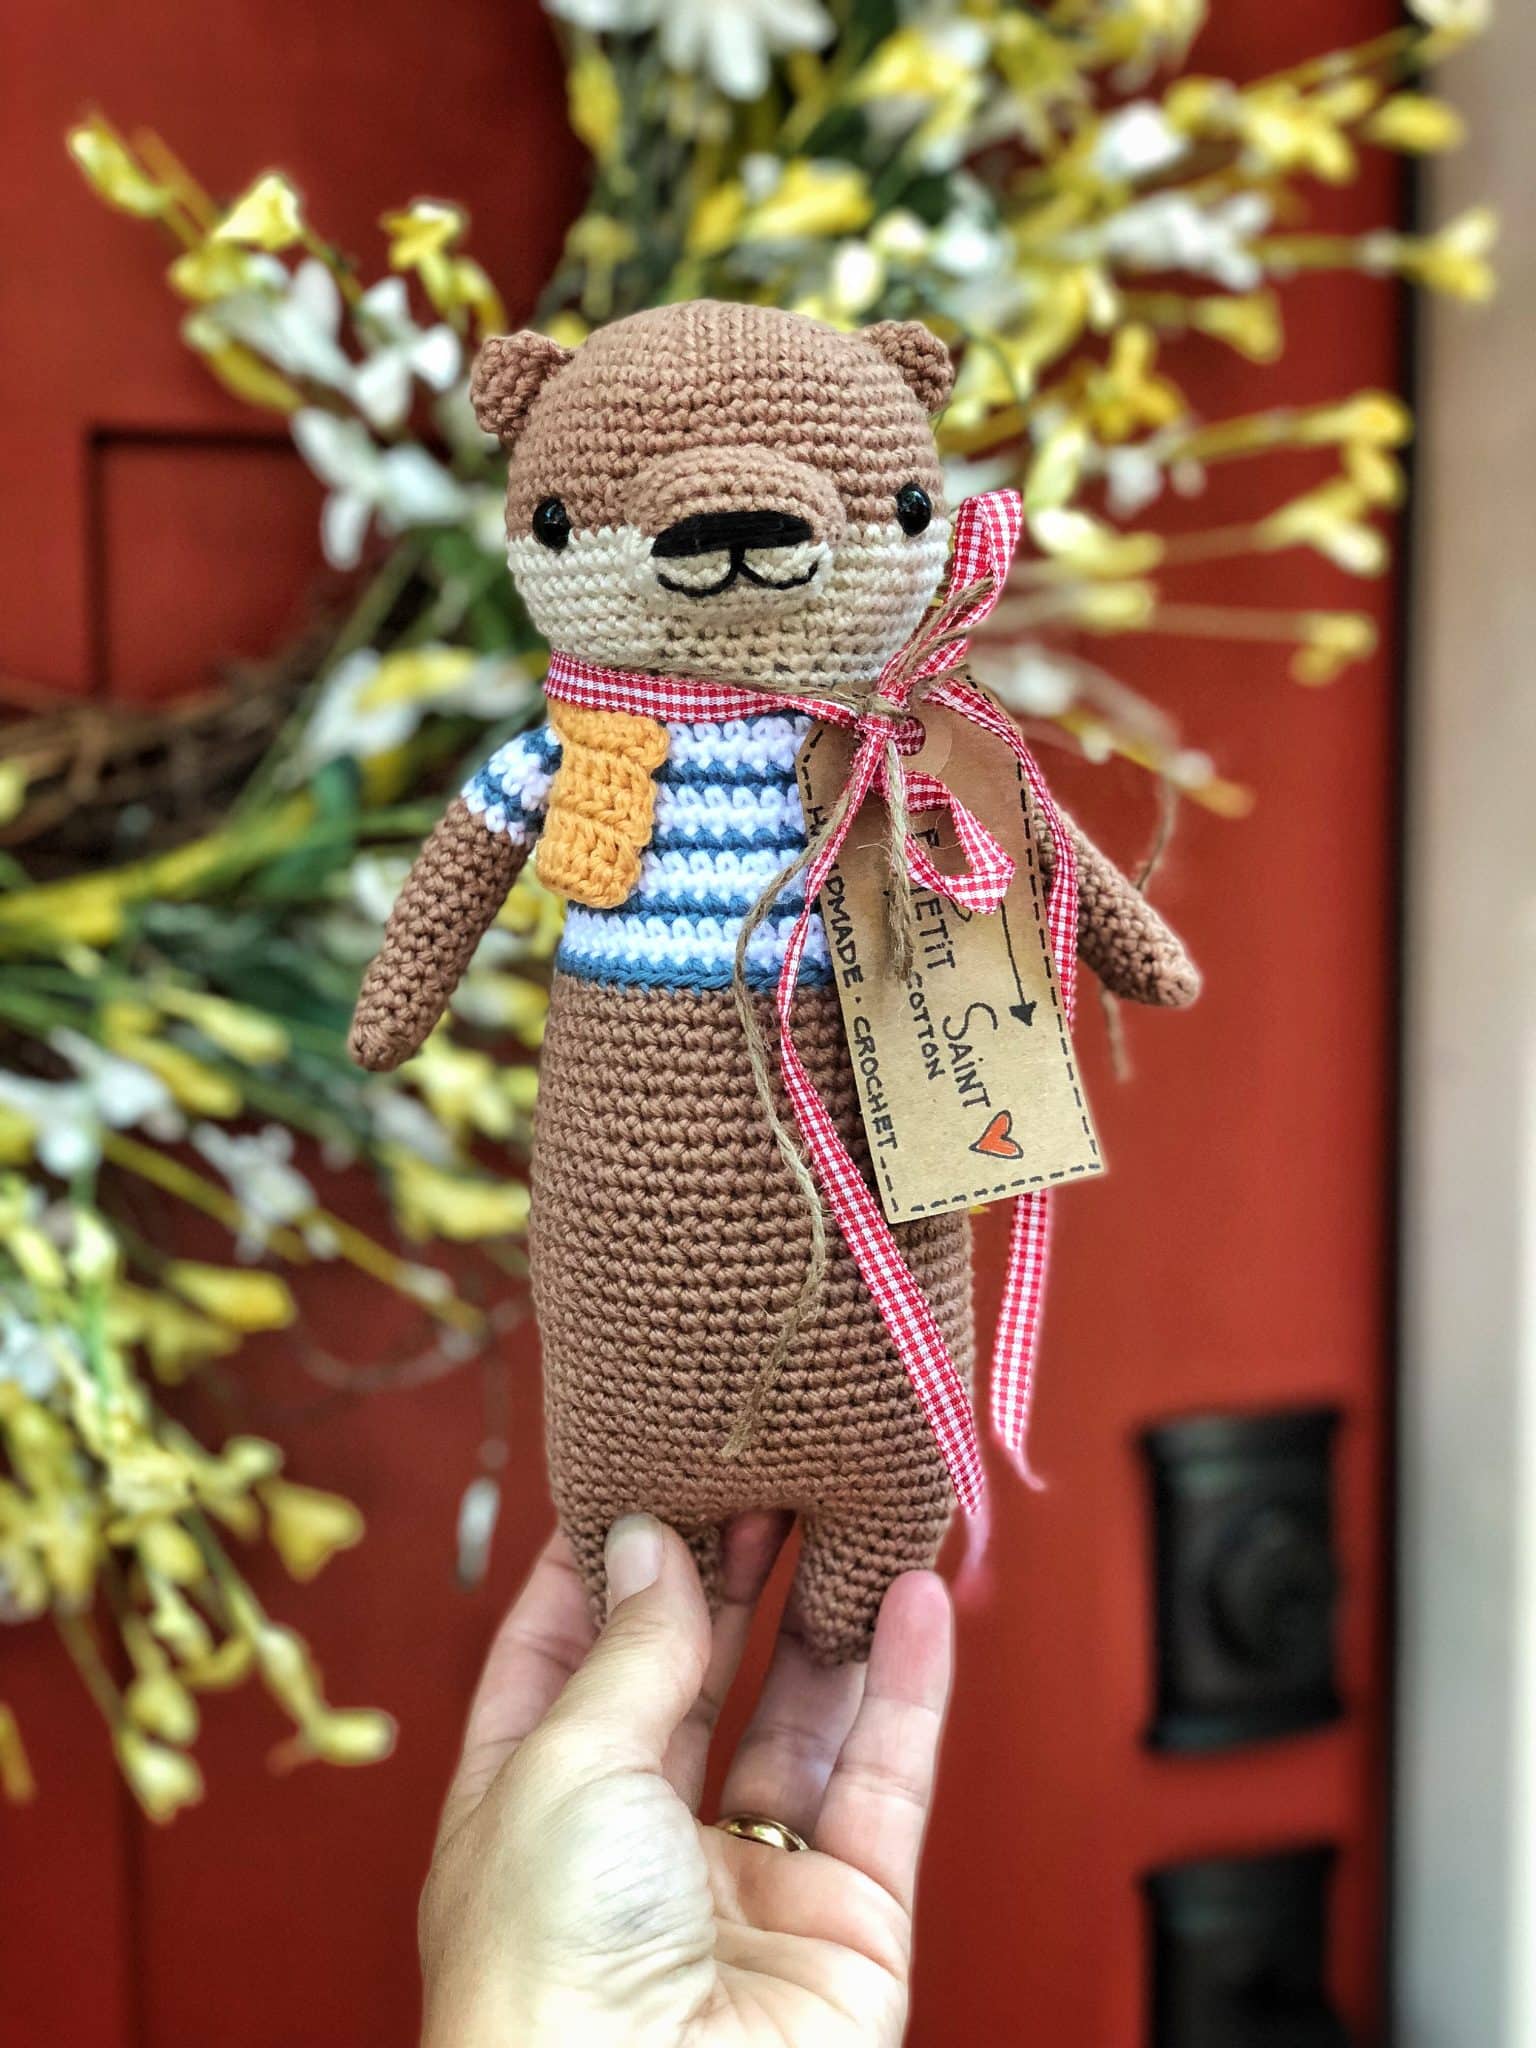
— Le Petit Saint Crochet
Recommended hook size on label – 2 mm crochet hook sizes = amigurumi hook size
That’s a good place to start, but it still may not be what works for your personal tension.
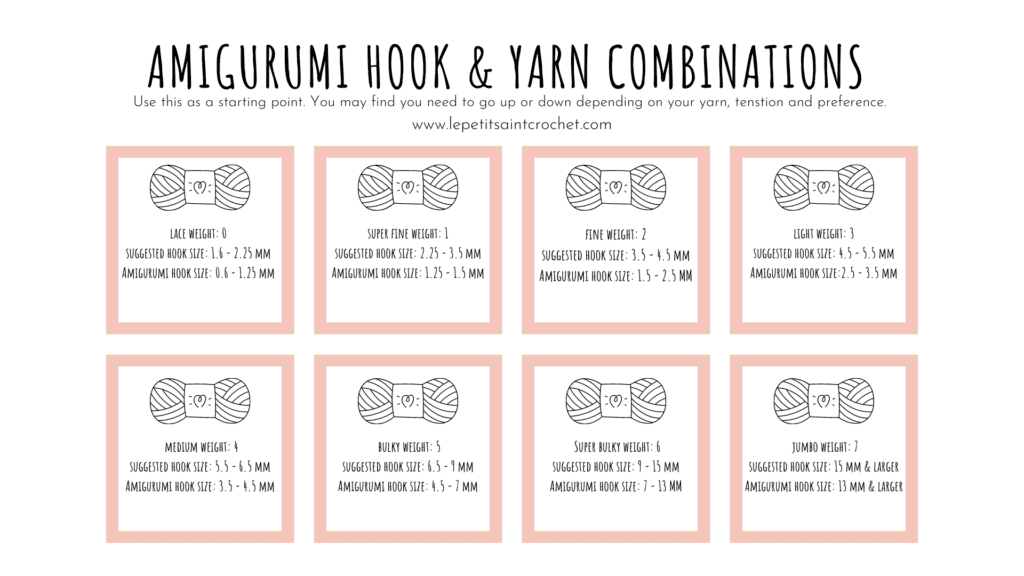
Here’s a nice little cheat sheet (make sure to Pin it as a reference guide)
Pin for Later!
That’s a good place to start, but it still may not be what works for your personal tension.
It may take a little time to experiment with what works best for YOU!
Yarn Over Vs. Yarn Under – Beginner Amigurumi Tip
Another beginner amigurumi tip is to decrease those unsightly holes by yarning under instead of yarning over.
Yarn Over creates a “V†stitch, while Yarning Under creates an X stitch.
This post contains affiliates links and at no cost to you I may earn a teeny tiny commission if you choose to purchase them. Please know that I only recommend products I use and love! Thank you for supporting Le Petit Saint Crochet! You can read my full (and slightly boring) full disclosure here.
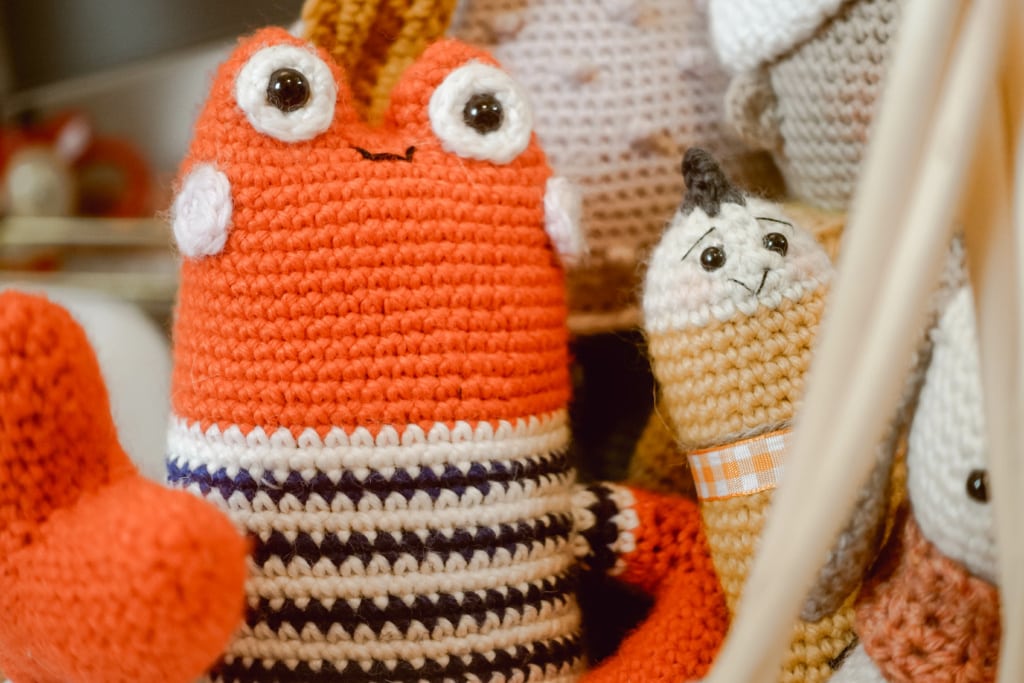
The very popular designer, Yan Schenkel from Animal Friends of Pica Pau does yarn under for her toys and it is a very popular technique for amigurumi lovers around the world.
I crocheted Lino the Lobster with yarn under and I did a full video all about it, In it I demonstrated both yarn under and yarn over so make sure to check the description box below for the link to the video if you’re interested in experimenting with your technique.
Read More Yarn Over vs Yarn Under Here
What’s the Best Yarn for Amigurumi Beginners?
I get this question a lot: What’s the best yarn for amigurumi.
And my answer: Ummmmmmmmmmmm
I wish there was ONE yarn that was available to every single human on planet earth, that was affordable for all budgets, had every color imaginable and felt great in your hands.
Yarn Fiber
I still haven’t found a yarn like that….yet, but I’ve got a few recommendations.
Cotton
100% COTTON:
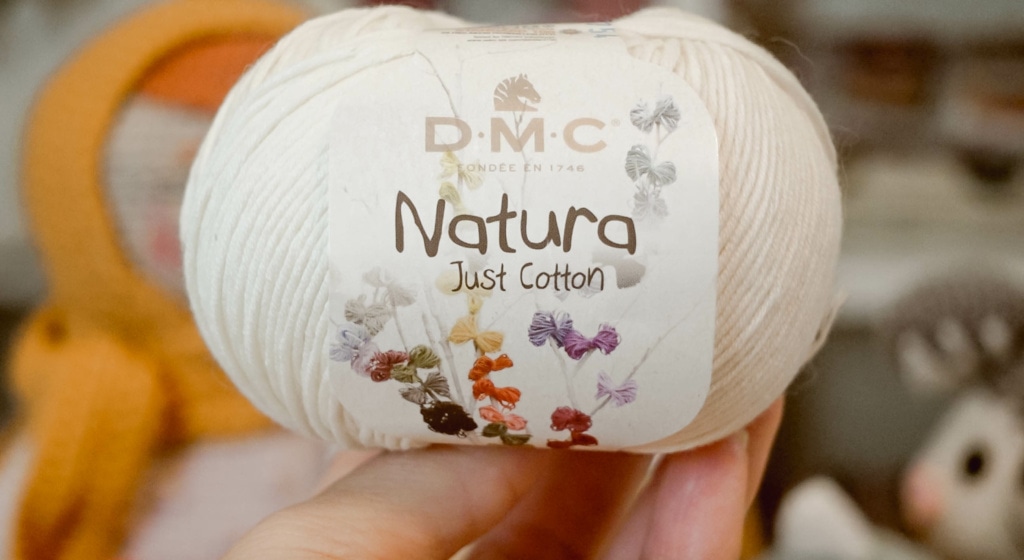
A lot of people love cotton yarn for amigurumi. It creates a very crisp looking toy with clean neat stitches.
This is probably the most popular for a lot of people because it’s typically pretty affordable and is widely available. You can also find it in organic cotton, especially for those who are concerned about a baby putting the toy in their mouth.
Some of my favorite 100% Cotton Yarns;
But here’s the thing… cotton doesn’t work for everyone and here’s why.
Cotton doesn’t have a lot of stretch, which is great for amigurumi, keeps those toys from getting holes.
BUUUUUUUTTTTT, that lack of stretch can wreak havoc on your joints and tendons if you are susceptible to things like tendinitis, arthritis and inflammation.
Ask me how I know.
Read More About the 10 Ways to Stop Pain From Crocheting and Knitting
For those of us who can’t use cotton there are other great options as well.
Wool Blends
My preference is typically a wool blend. I like the look of wool with a little added stretch like acrylic and or nylon.
Here are some of my favorite wool blends:

The only negative about any of these yarns is the cost.
But I’ve got a solution for that.
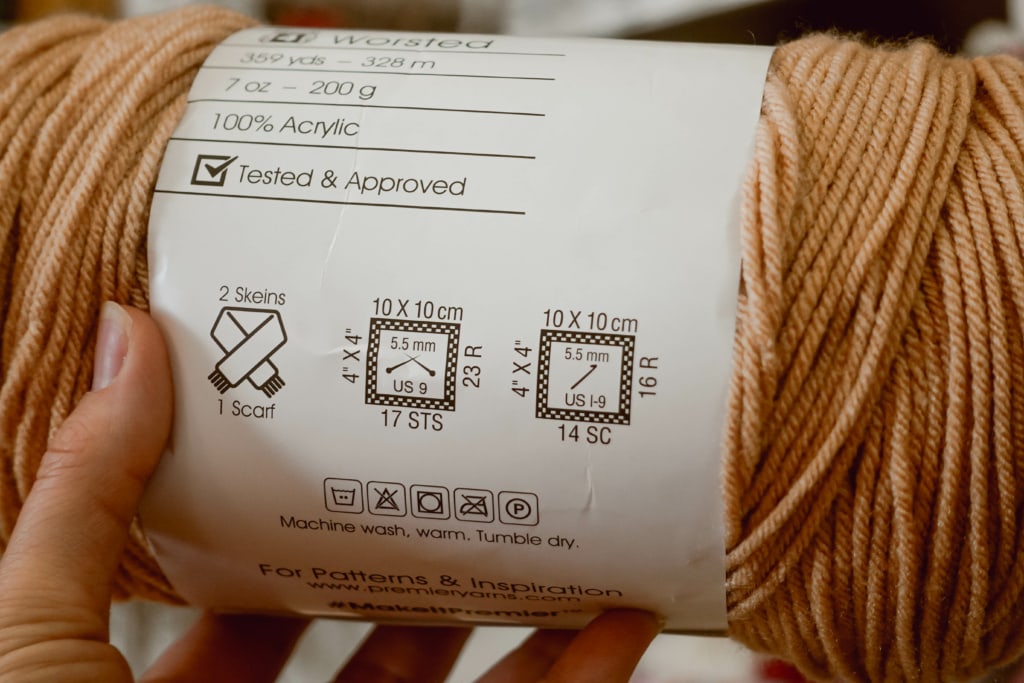
100% Acrylic
Another fantastic yarn for Amigurumi is 100% acrylic.
The benefits are that it’s widely available, cost effective and has lots of stretch.
In this category I have a favorite and it comes in SOOOOOO many different colors and it’s a whooping big skein of yarn.
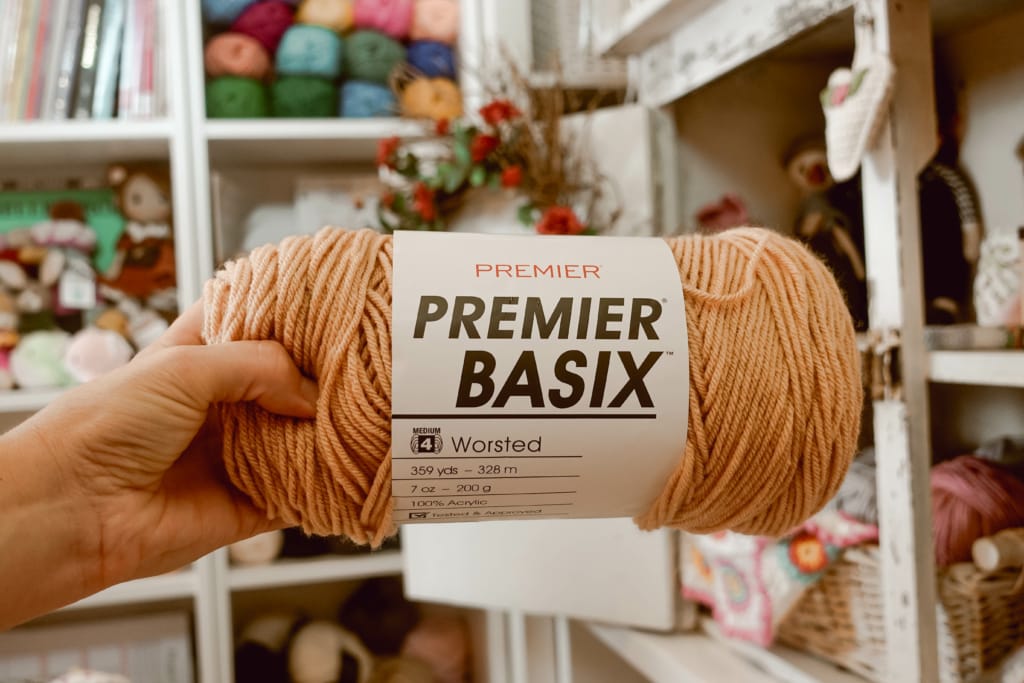
It comes in 81 different colors, there are solids, marls, multis and tweeds.
I’m going to be going more in depth about this yarn in an upcoming video.
But this is an affordable yarn at $3.79/ skein and you get 7 oz with the solid colors and 5 oz with the marls, multis and tweeds.
Yarn Weight – Beginner Amigurumi Tips
There are lots of different weight yarns and which one you choose is going to depend on what your goal is.
The best place to start is with the pattern you’re using.
What yarn weight are they recommending?
That’s a good place to start, but once you have a little experience you can go off the rails.
I typically use a worsted weight yarn and a 3.5 mm hook for all the toys I crochet. I typically don’t even look at the suggestion (for most patterns).
Even if a pattern calls for a DK weight yarn, I’m using a worsted because I like my toys a little bigger (plus I have a hoard of worsted weight yarn). EEEKKKK
But maybe you like your toys smaller and you’ve spent all your family’s savings on sport weight yarn, use that one!
The only time I’m going to veer off the rails is when a pattern calls for a chenille or bulky weight yarn, then I’m following the pattern to a T because I’m not experienced with that type of yarn.
Don’t be afraid to play around and find what works best for you, your budget, your tension and your preferences.
Right Crochet Hook
Another important element is finding the right crochet hook for you.
There isn’t a perfect brand of crochet hook for every single crocheter so it can take a little experimenting to find what works best for you.
All crochet hooks have the same structure:
- Pointe
- Head
- Throat
- Shaft
- Grip
- Handle
Some hooks have a specific thumb rest and others do not.
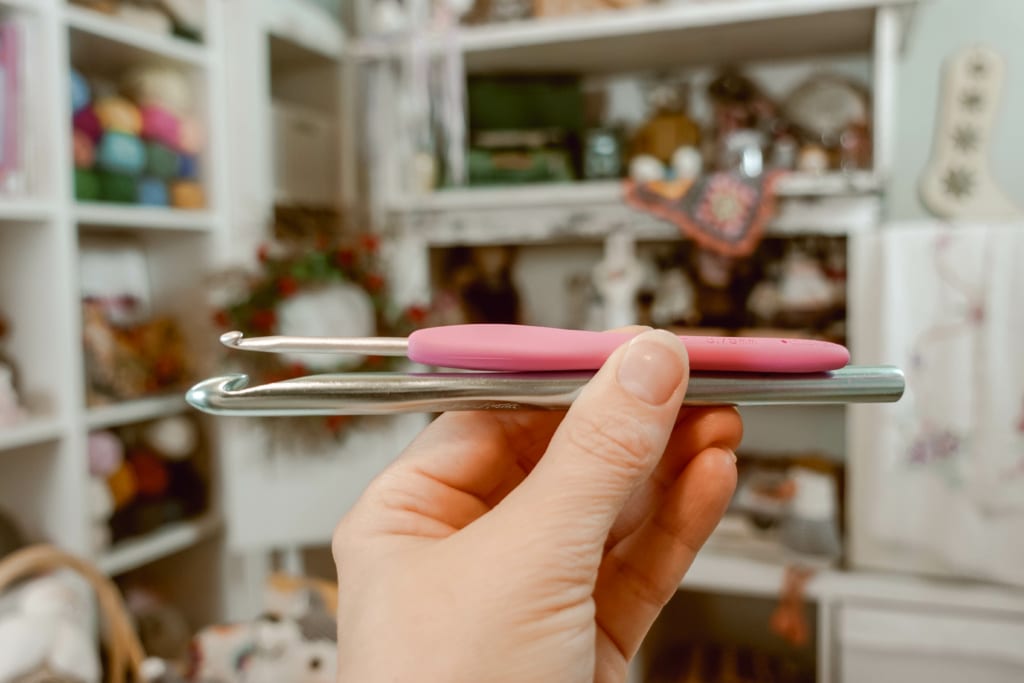
But there are two different types of crochet hooks:
Tapered Hooks have a narrowing along the throat of the hook and a wider gap between the head and shaft. The head is a bit rounder with tapered hooks.
In line hooks have a head that is “in line†with the shaft. They also have a pointier head.
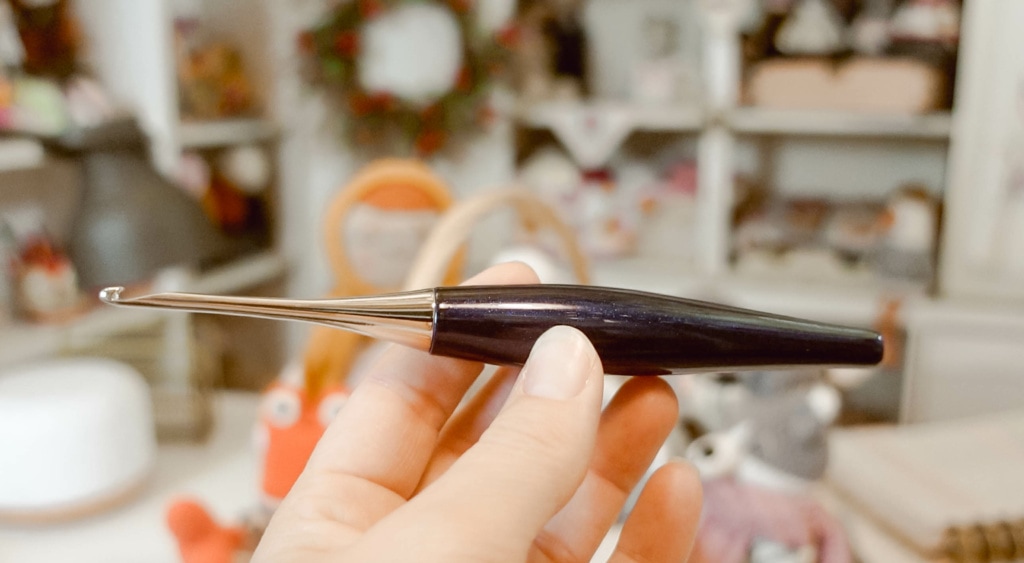
There isn’t one better than another. My personal preference is the tapered Furls Odyssey crochet hooks. It’s my favorite because of its ergonomic handle and incredibly strong construction. They are also great if you are a knife or pencil holder when crocheting.
I did a whole video experimenting with 8 of the most popular crochet hooks on the market.
Read More About the Best (and Worst) Crochet Hooks for Amigurumi
Crochet Hook Material? Metal, Wood or Plastic?
Most amigurumi makers agree that a metal hook is far superior to plastic or wood. Metal is much stronger and slips into tight stitches much easier.
There are metal hooks in all different price ranges which is fantastic.
Plastic and wood drag and cause unnecessary pushing and pulling with amigurumi. They might be good for other crochet projects but not for making toys.
Stuffing Types
Until recently I thought there was only one type of stuffing for amigurumi.
Polyfil is one of the most popular brands and fibers for stuffing amigurumi toys. It’s a polyester fiber fill that is affordable and creates a fully stuffed toy.
When using Polyfil you have to grab a small handful and stuff down into the toy. The stuffing can clump easily so you need to add small amounts at a time.
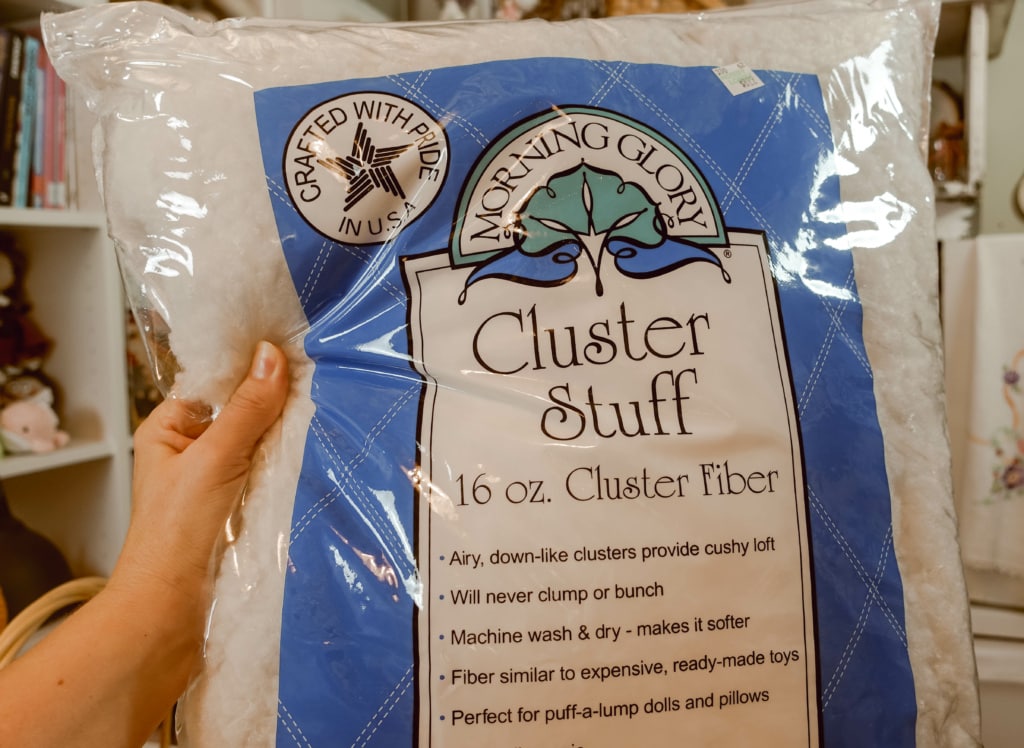
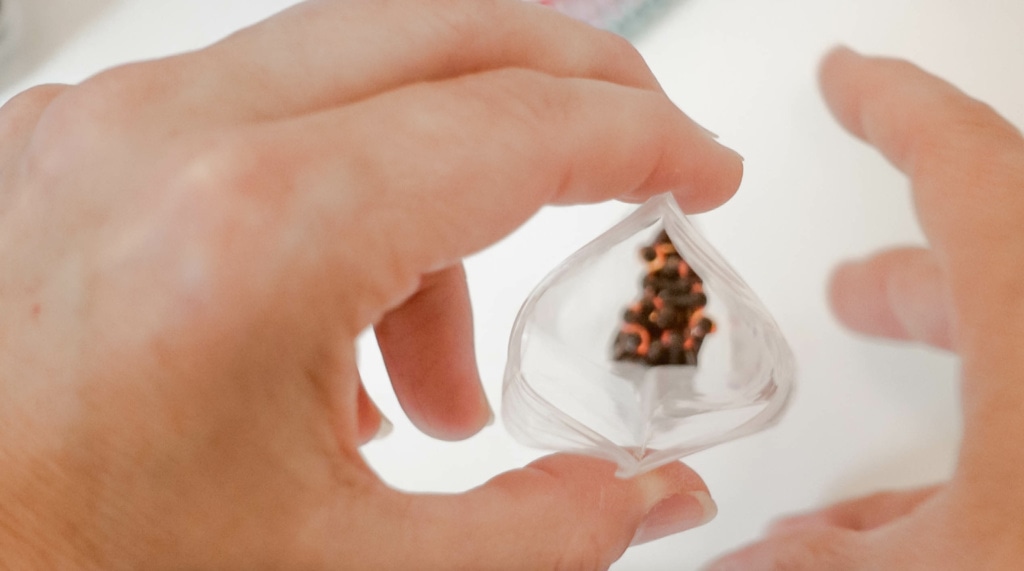
But, I recently discovered a totally different kind of stuffing.
Morning Glory Cluster Stuff – it already comes in little soft clumps so you can stuff and go. It stuffs the toy nicely. You can also use this to understuff a toy if you want a less stiff toy.
Neck Stability
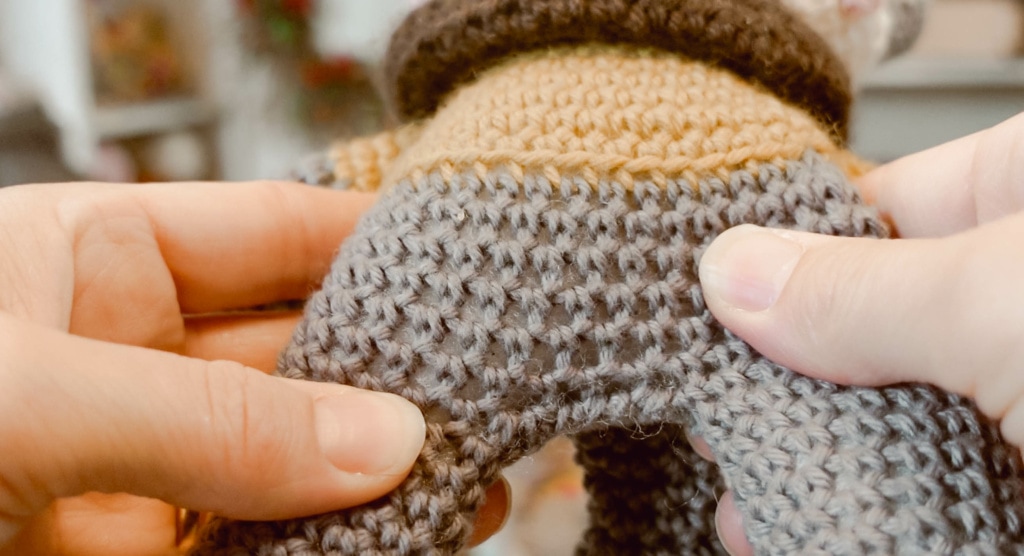
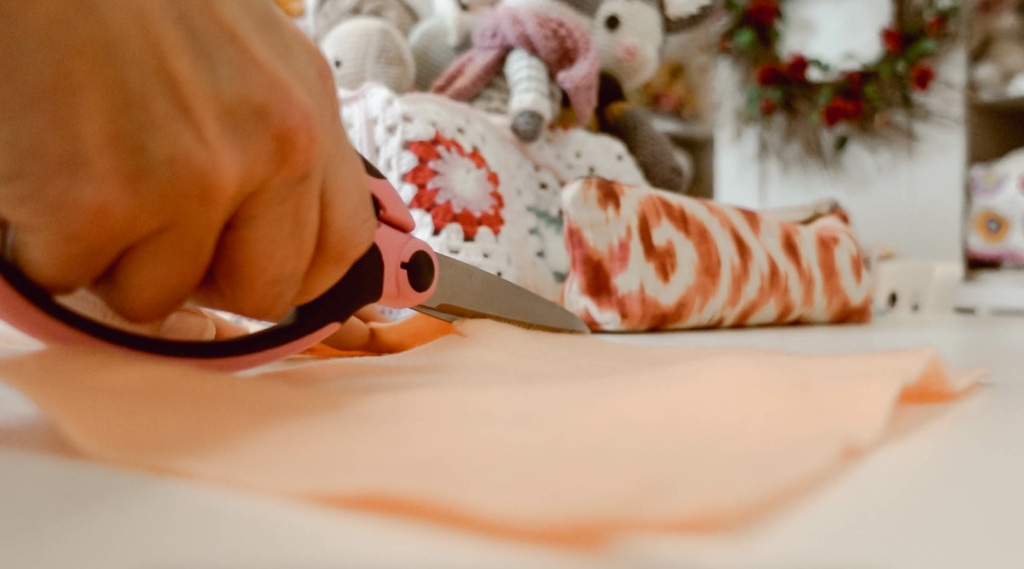
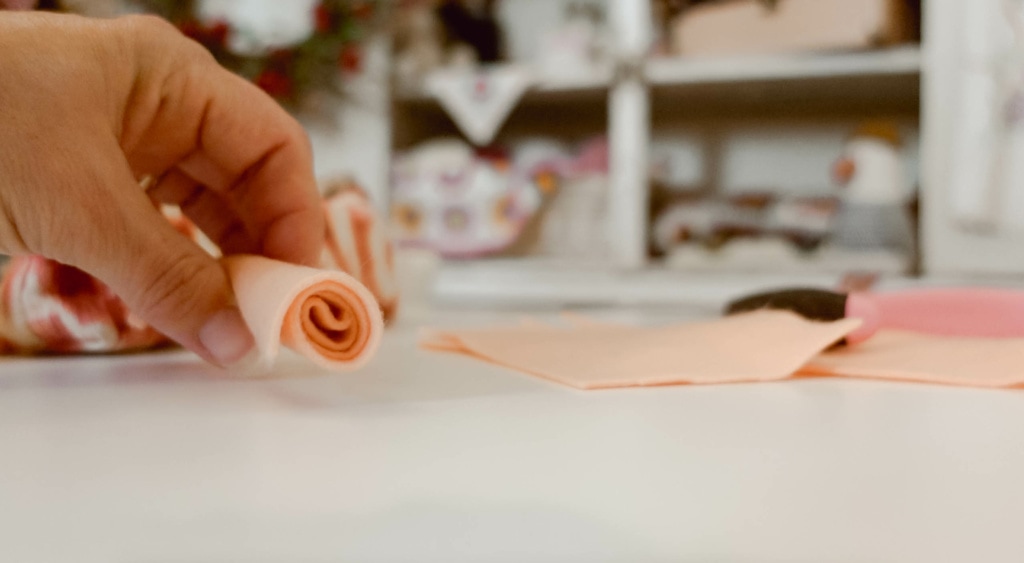
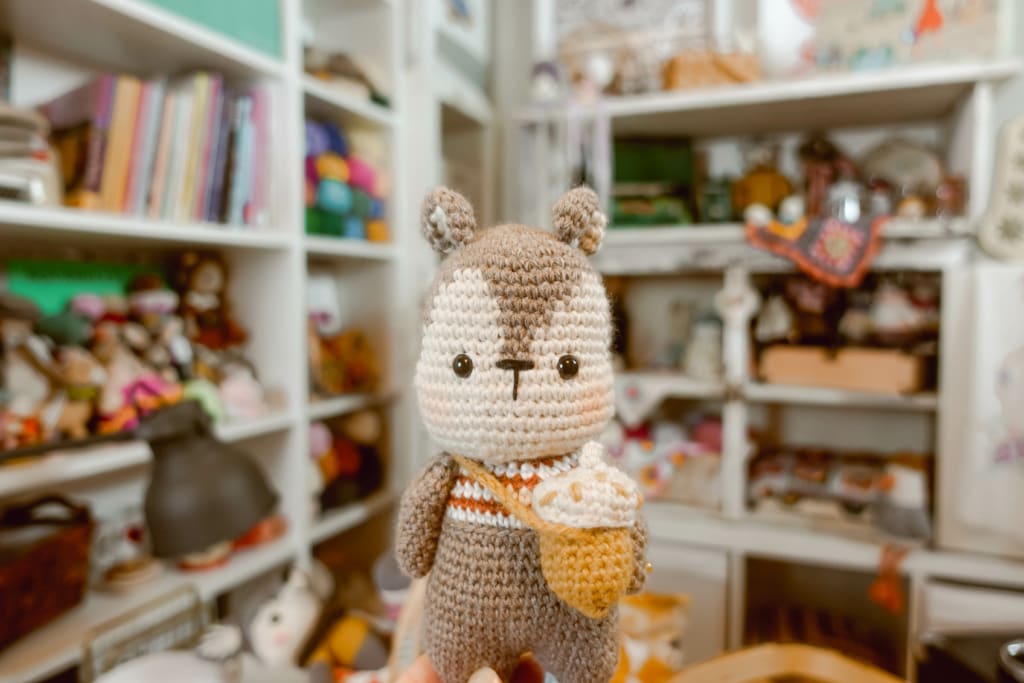
One of my best beginner amigurumi tips is to make amigurumi toys with stable necks is to support that area with a rolled up piece of felt.
I purchase inexpensive pieces of light colored felt that I can cut and roll into any size I need. I roll up the felt to the perfect size so that the neck is supported and doesn’t slump over.
I do know that other makers sometimes use dowel rods or chopsticks inside the toys to support them as well, but I worry about a wooden stick inside the toy.
The felt works perfectly and it’s easy to find at my local craft store.
Amigurumi Eyes – Beginner Amigurumi Tips
There are so many different ways to make amigurumi eyes and it can change the entire look of your toy.
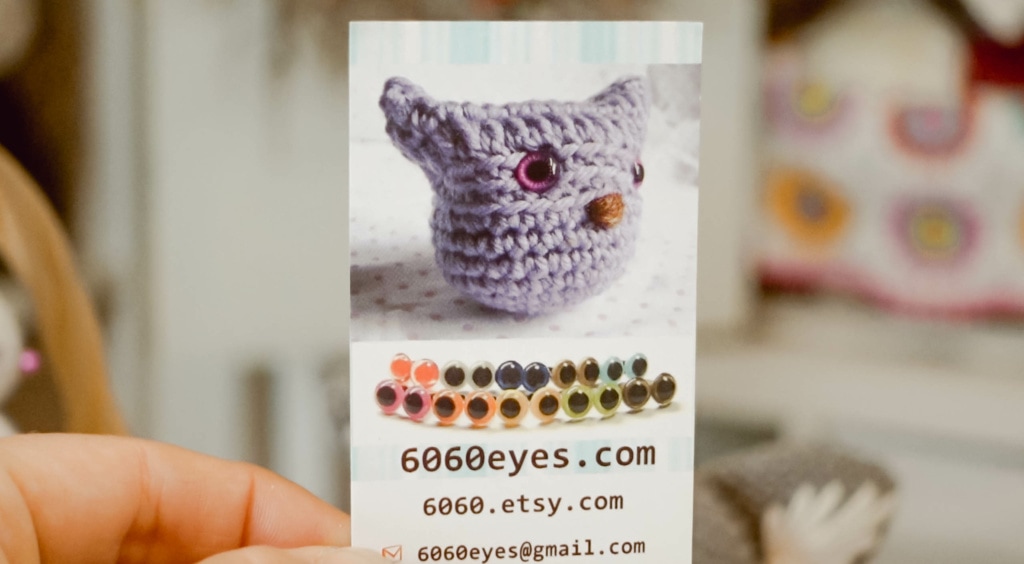
When it comes to safety eyes I now use two companies because of the quality of their safety eyes.
Glass Eyes Online and 6060 Eyes
You’ll find a full video review about amigurumi eyes in a video I did not that long ago. I share a lot more information about all different types of amigurumi eyes.
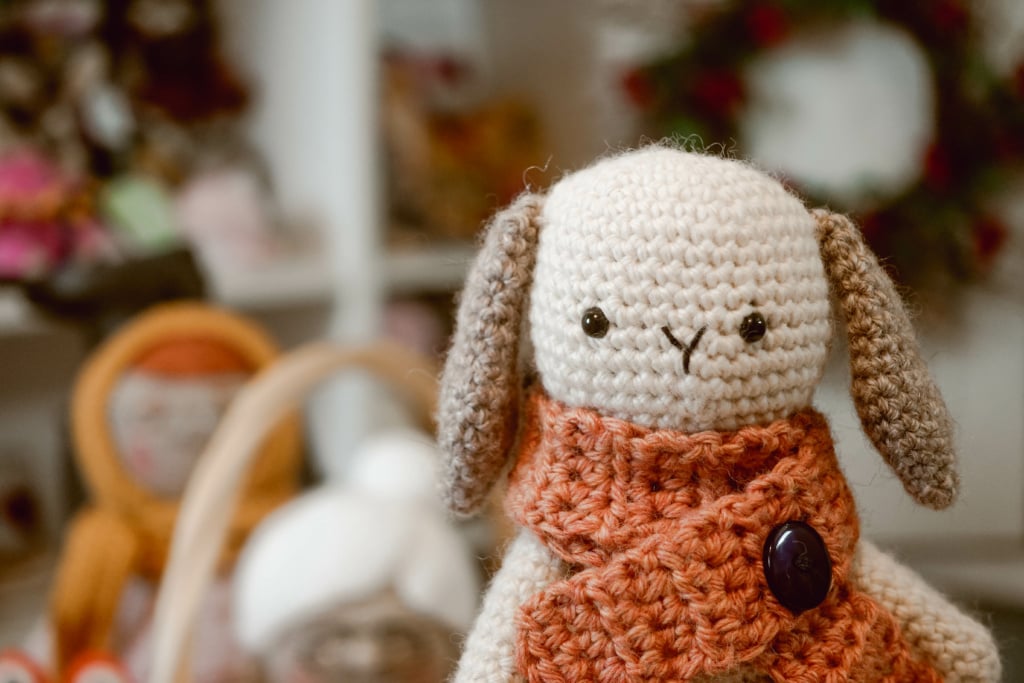
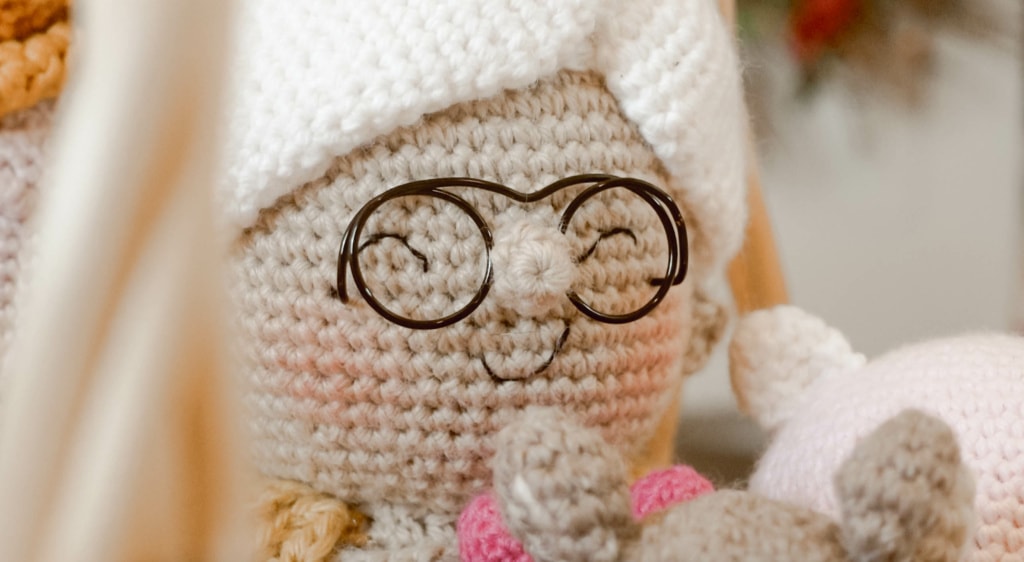
I also really love to embroider eyes as an alternative to safety eyes.
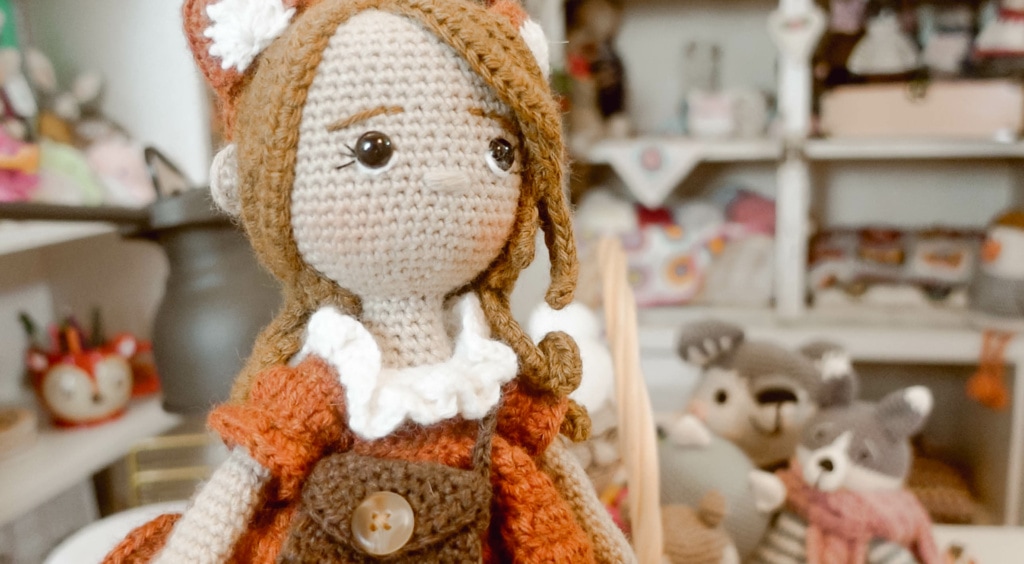
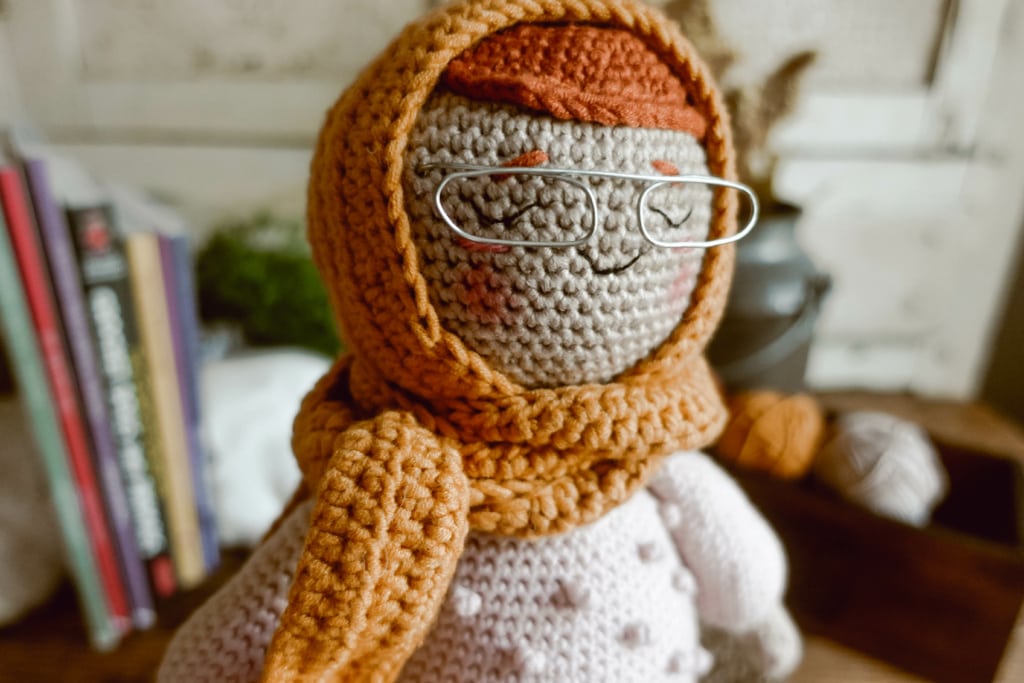
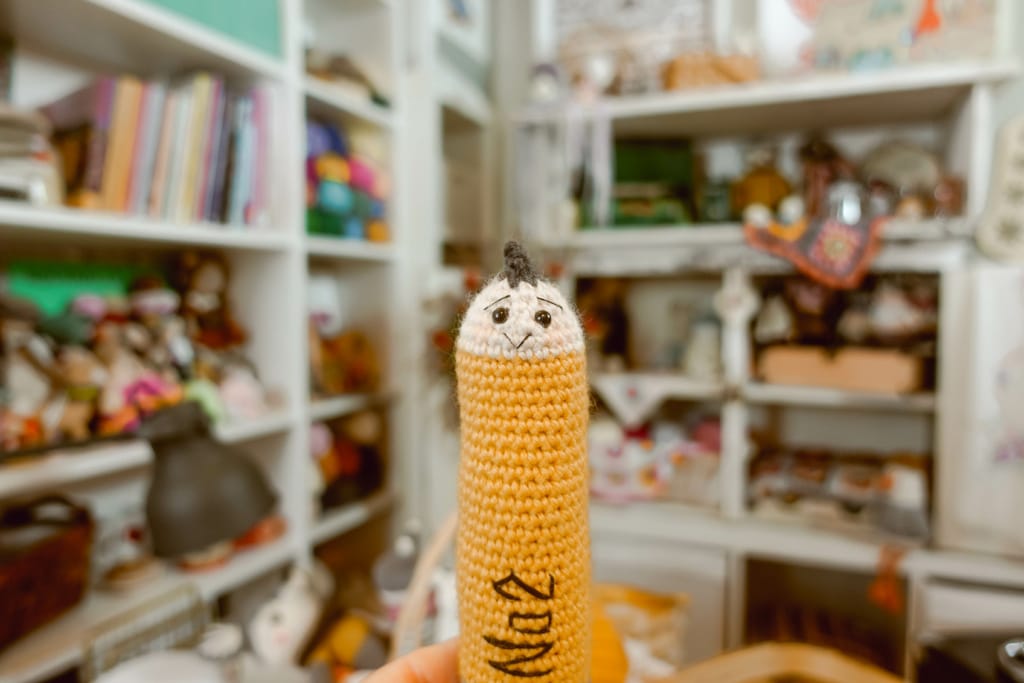
It’s a great way to give your toy a ton of personality. You can make them look sleepy or like they are smiling like Mrs. Habiba here.
Read More About Amigurumi Eyes Everything You Need to Know Here
Make sure to check out my amigurumi eyes Pinterest board, which you’ll find a link to in the description box below You’ll find tons of inspiration for amigurumi eyes!
Embroidering
Embroidering facial features on amigurumi toys is one of the most difficult and frustrating parts of making amigurumi.
When it comes to embroidering I typically use embroidery floss as it tends to look much neater. For Mrs. Habiba and Granny I embroidered their eyes. I also do not use all 6 strands. I separate the strands and use 2-3 for each feature.
I also like using a standard embroidery needle that is pointed for embroidering, not a yarn needle with a large blunt tip.
When embroidering I like to use high contrast for the eyes. Sometimes I use a little white embroidery floss around the eyes to make them pop.
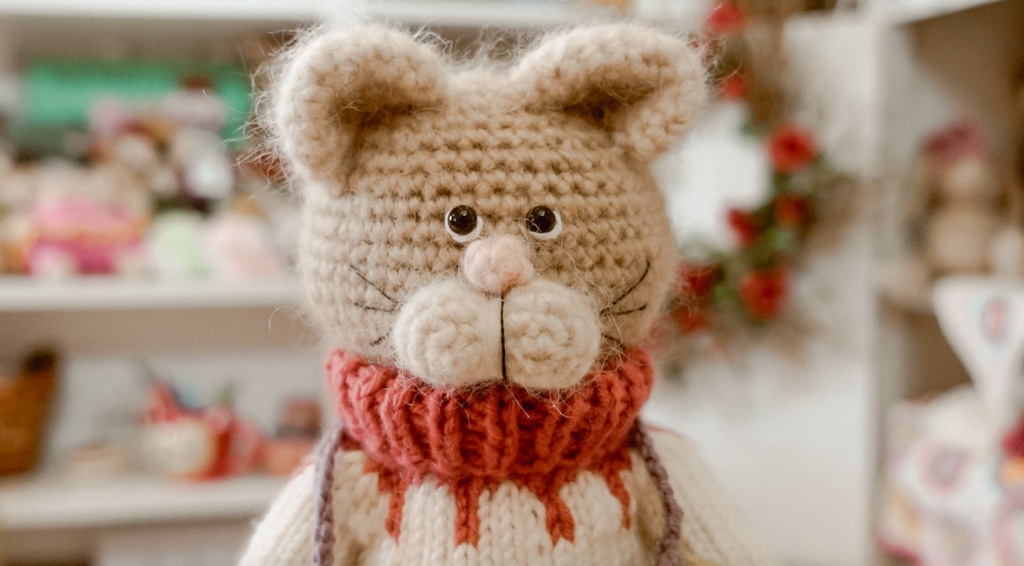
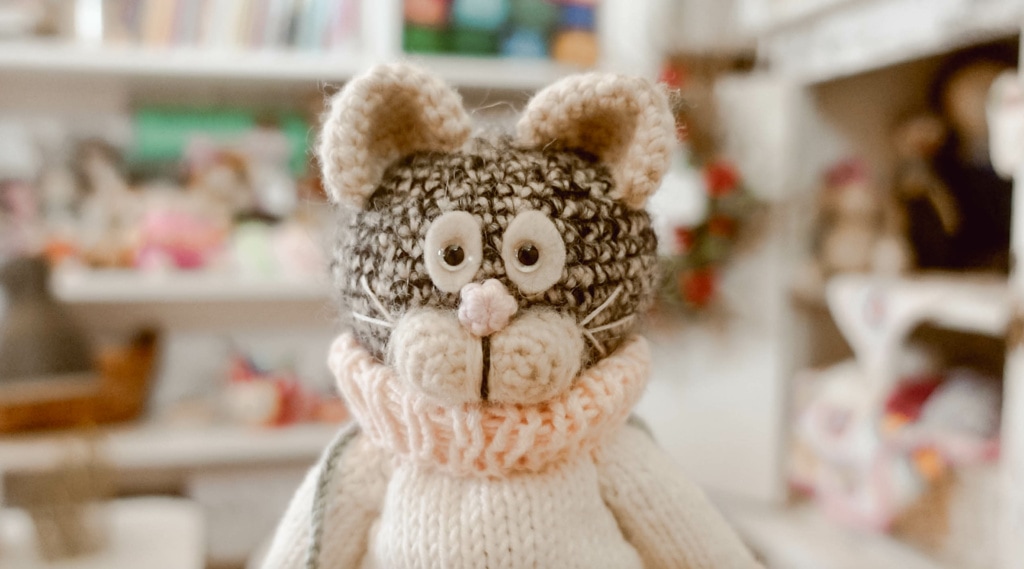
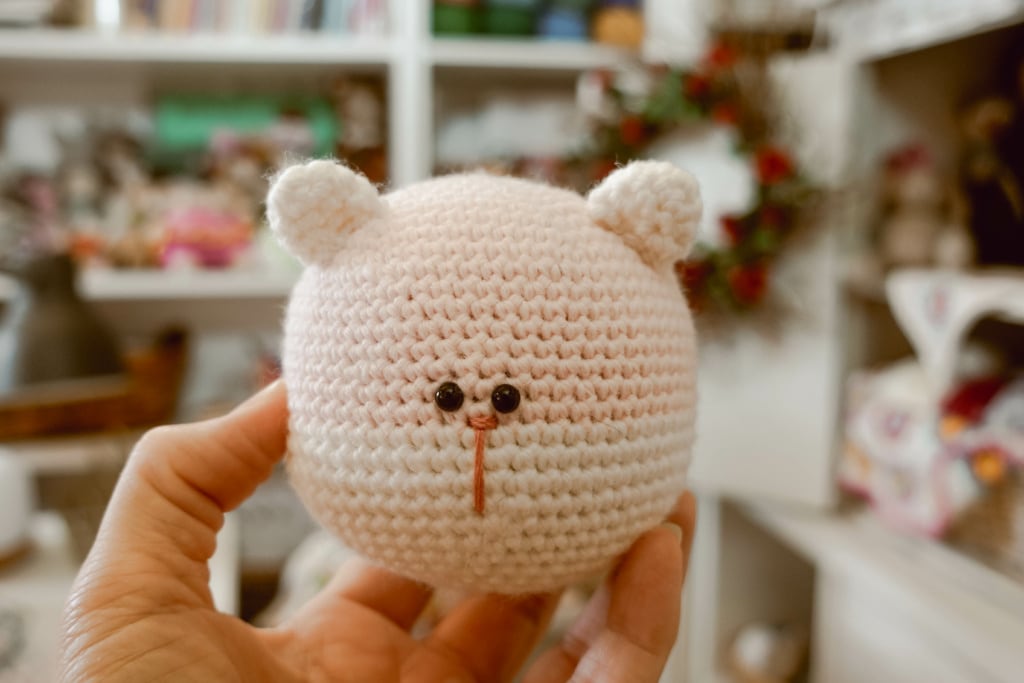
I’ve even used small scraps of white felt behind a safety eye on a dark colored cat so you can see the eyes more clearly. If I had just put a safety eye on here, you wouldn’t have been able to see it as well.
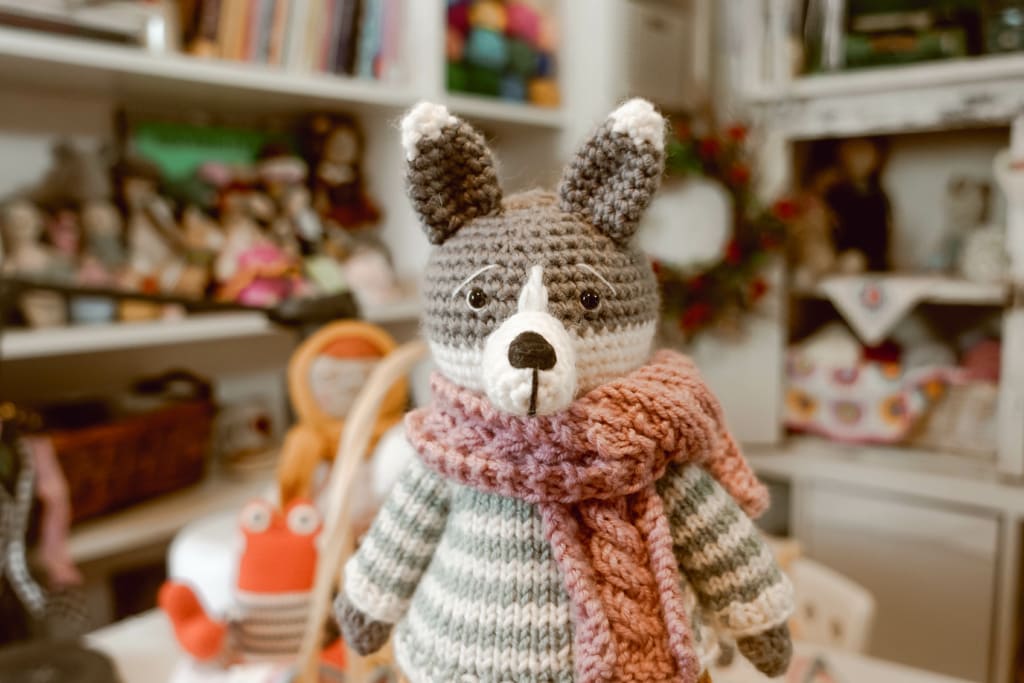
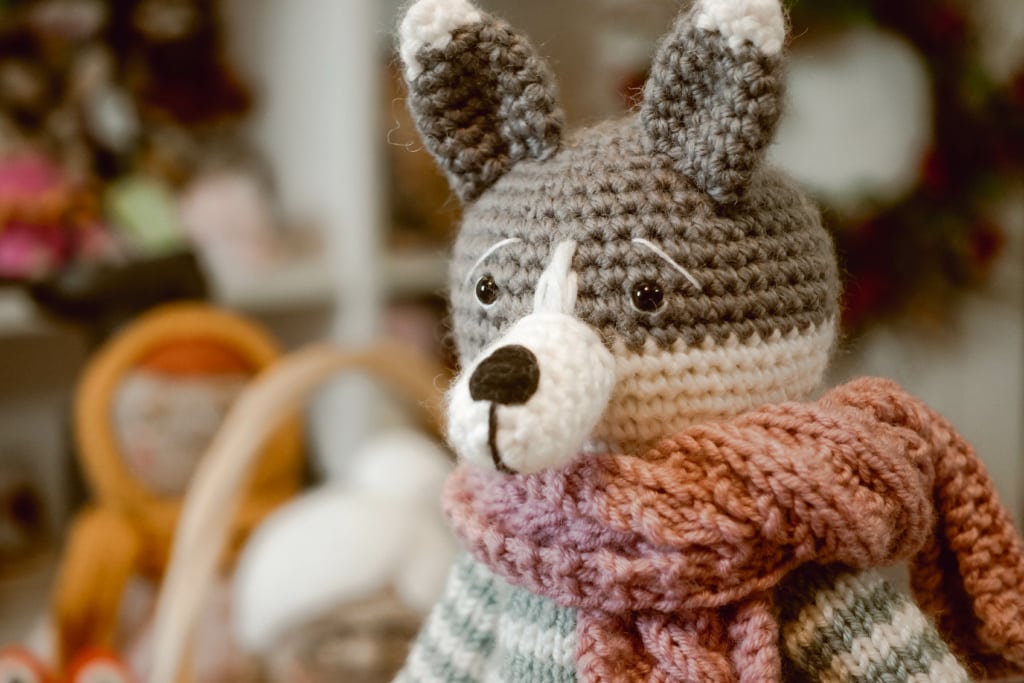
The only time I will use yarn to embroider the face is if I’m needing to fill a snout, like on the wolf. I find that a sport weight yarn is easier to do a satin stitch for me than embroidery floss. It looks neater and fills the space nicely.
I also like to give some of my toys eyebrows. It gives the toy a nice facial expression. Depending on the toy I will use embroidery floss or a light weight yarn.
The Face
I have found that by focusing on the face is the most important part of the toy. Typically everything else is much easier.
If you get the face right then everything else will follow.
As humans we are hard wired to look at faces. And as amigurumi makers we need to focus on the face because I have found that it can make or break a toy.
Symmetry is super important to focus on. If the eyes are off (not on purpose because that can be cute when it’s purposeful) or the snout is crooked, it’s very noticeable.
Play around with where you are placing the eyes, ears and snout. It can change the entire look of your toy.
The eyes can be higher on the face or much lower on the face.
The ears can be high up on the head or on the sides of the head.
Experiment with the snout to see if it looks better close to the eyes or very far apart.
Have fun with your toys by playing with those elements.
Seaming on Body Parts – Beginner Amigurumi Tips
One of my most frequent questions is about seaming. It can be a very frustrating part of the amigurumi process.
I know of several people who love to crochet the toys and then have body parts just lying around because they hate the thought of sewing them on.
Here is exactly how I do it.
First, I always leave a long tail after I finish the body part like an arm, ear or snout to sew on the piece.
Next, I always pin the body part on first. It helps me to position everything and keep it in place.
Check Out My Full Bubble the Catster Tutorial and Skip to 49:28 to See How I Seam
Then I catch the stitch horizontally on the body first then I catch the front loop of the body part. Then looking exactly at where that corresponds to the body, I catch that stitch and so on.
Beginner Amigurumi Tips
I hope that you found all this information about beginner amigurumi tips helpful! Make sure to check the link in the description box below for all the resources!
Finally stay safe out there and Happy Stitching!
Pin for Later!


![Is Amigurumi Hard to Crochet? [+ Top 10 Hardest Amigurumi Projects]](https://eliserosecrochet.com/wp-content/uploads/2022/01/is-amigurumi-hard-to-crochet.png)

Great article! I like the felt idea to stabilize the neck. I use clear plastic milkshake straws which are available on Amazon. They are thick and stabilize the neck area nicely.
I’m so glad you liked the neck trick! That’s a great idea about the straws!! Thanks for sharing! â¤ï¸ðŸ§¶â¤ï¸ðŸ§¶