
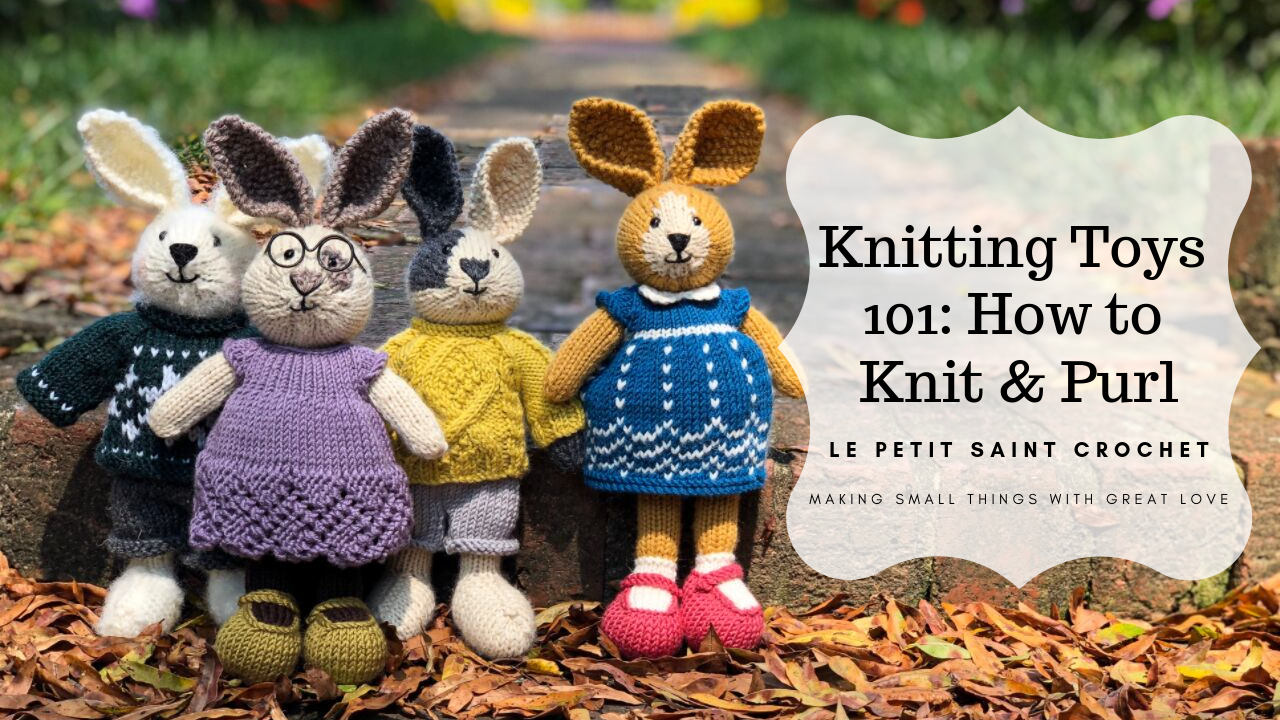
Yarn Over vs Yarn Under for Amigurumi
In Yarn Over vs Yarn Under for Amigurumi you will learn how to do both single crochet techniques. But more importantly, discover which one is right for your amigurumi projects.
Are you team Yarn Over or team Yarn Under for crocheting toys?
Before last week, I had never tried the yarn under technique.
I had been taught to single crochet by yarning over and I am a big rule follower. Because of that I was never tempted to venture into unknown territory, that is until recently.
I’m not sure what persuaded me to go rogue and do something as wild and adventurous as yarning under. But 2020 has been the year or doing things differently and I was bored.
You are going to find how to yarn over and yarn under, but more importantly, which one is right for you (and hint, hint: there is one that’s right for you).
Get Your Yarn Over vs Yarn Under Quiz Sent to Your Inbox!
Yarn Over vs Yarn Under for Amigurumi
Let’s back up just a second and make sure we are all on the same page. I want to make sure you understand what we are talking about.
Traditionally single crochet is made by yarning over. That means that you wrap the yarn around the hook, which causes the yarn to go over the hook. It is generally thought of as the correct way to make a single crochet.
To make a yarn under you take your crochet hook on top of the yarn, grab it and pull through.
Check out the video to see the difference between yarning over and under!
Now that you know the basic mechanical differences let’s take a closer look at how that impacts your amigurumi projects.
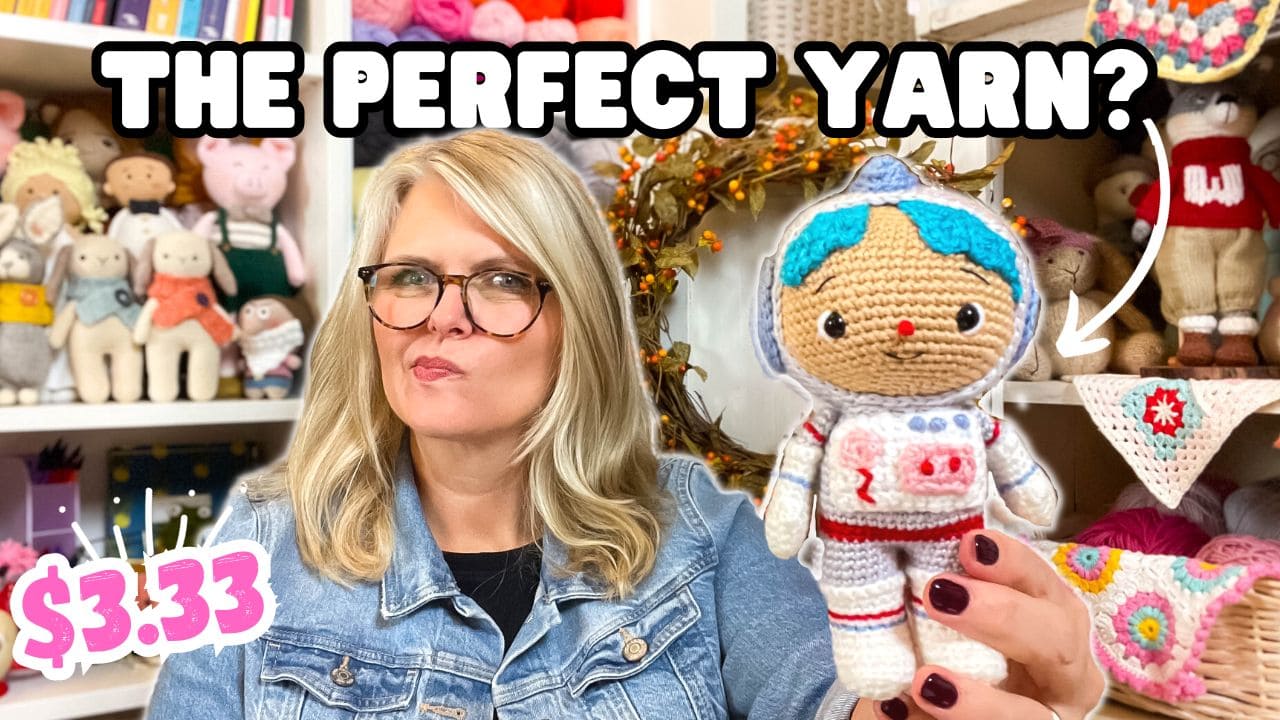
Paintbox Wool Mix Aran
This post contains affiliate links and at no cost to you I may earn a teeny tiny commission if you choose to purchase them. Please know that I only recommend products I use and love! Thank you for supporting Le Petit Saint Crochet! You can read my full (and slightly boring) full disclosure here.
I used one of my tried and true amigurumi yarns for this project, Paintbox Wool Mix Aran in the colors:
- Pillar Red
- Royal Blue
- Vanilla Cream
My favorite crochet hook for amigurumi is the FURLS Odyssey Crochet Hook 3.50 mm.
Yarn Over for Amigurumi
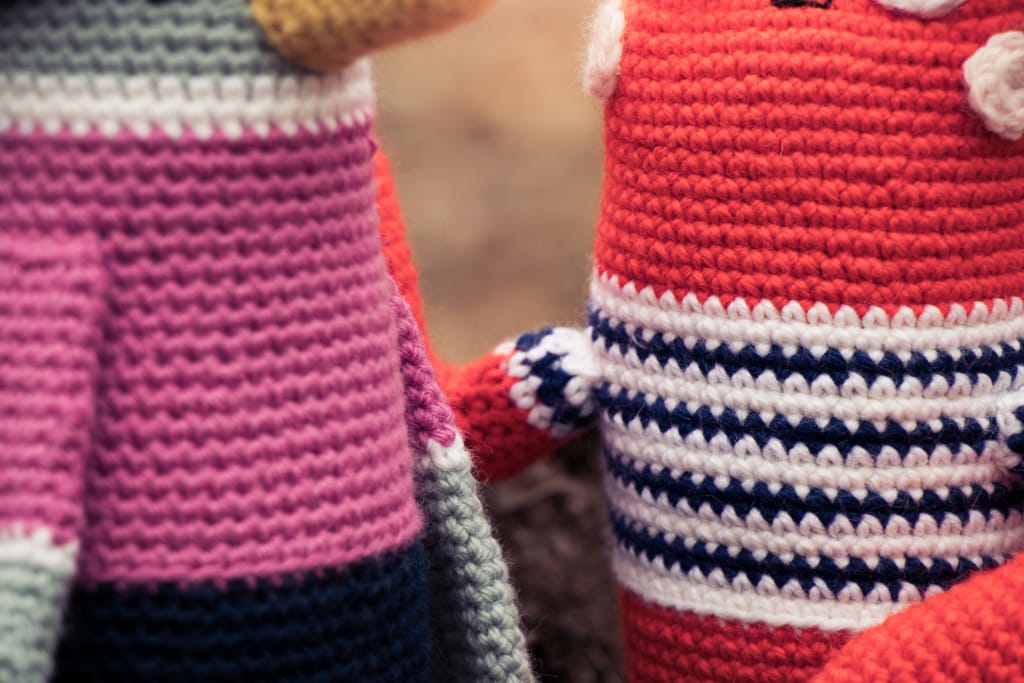
When you yarn over for amigurumi, you are creating stitches that look more like a “V” shape.
While you are able to create a nice dense fabric, it can leave holes, especially if you have a naturally looser tension or your hook and yarn weight aren’t a good match.
Until last week this was the only way I had ever made amigurumi.
Yarn Under for Amigurumi
When yarning under for single crochet, you are making a stitch that looks more like an “X”.
It creates an incredibly dense fabric because by eliminating the wrapping of the yarn, you make the stitch much smaller.
The result is a tight fabric that has very few holes, if any. But it also creates a smaller toy because the yarn under stitches are actually smaller in size.
Animal Friends of Pica Pau 2
When I decided to experiment and try the yarn under technique, I knew the exact pattern I would try it on.
I have been a big fan of the Animal Friends of Pica Pau patterns for several years and have crocheted over a dozen from the first book.
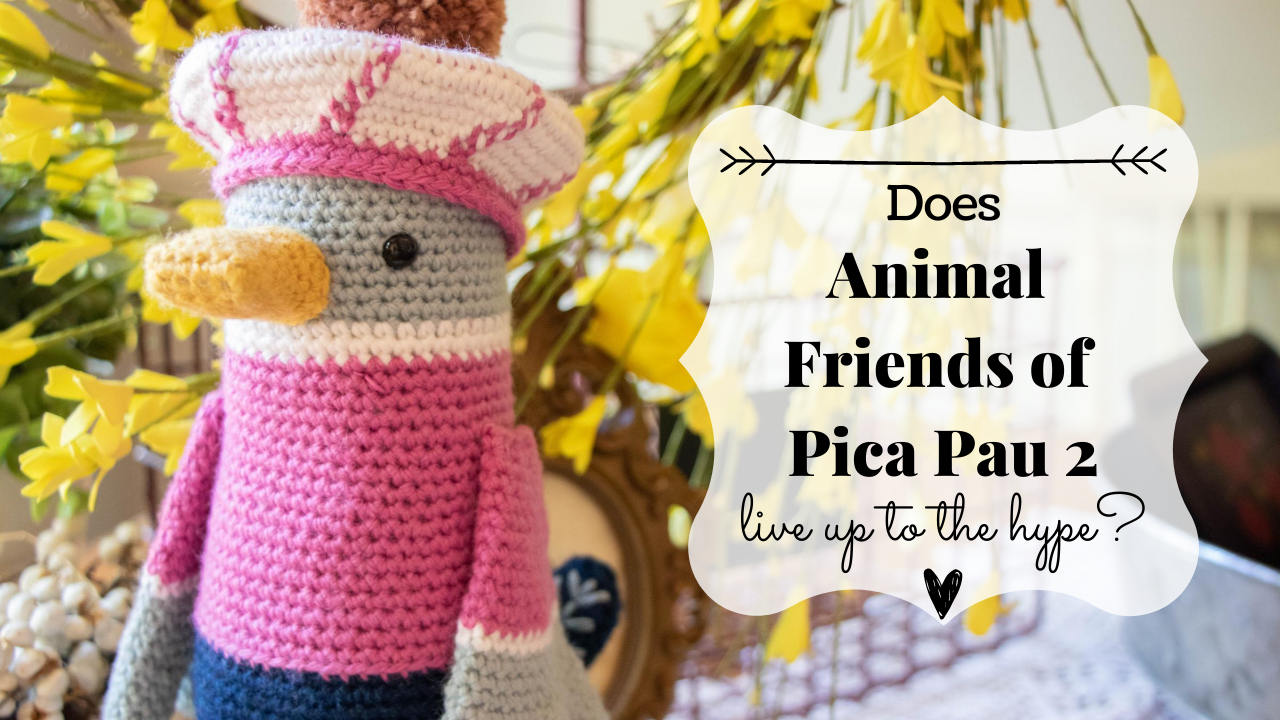
Check out Does Animal Friends of Pica Pau 2 Live Up to the Hype?
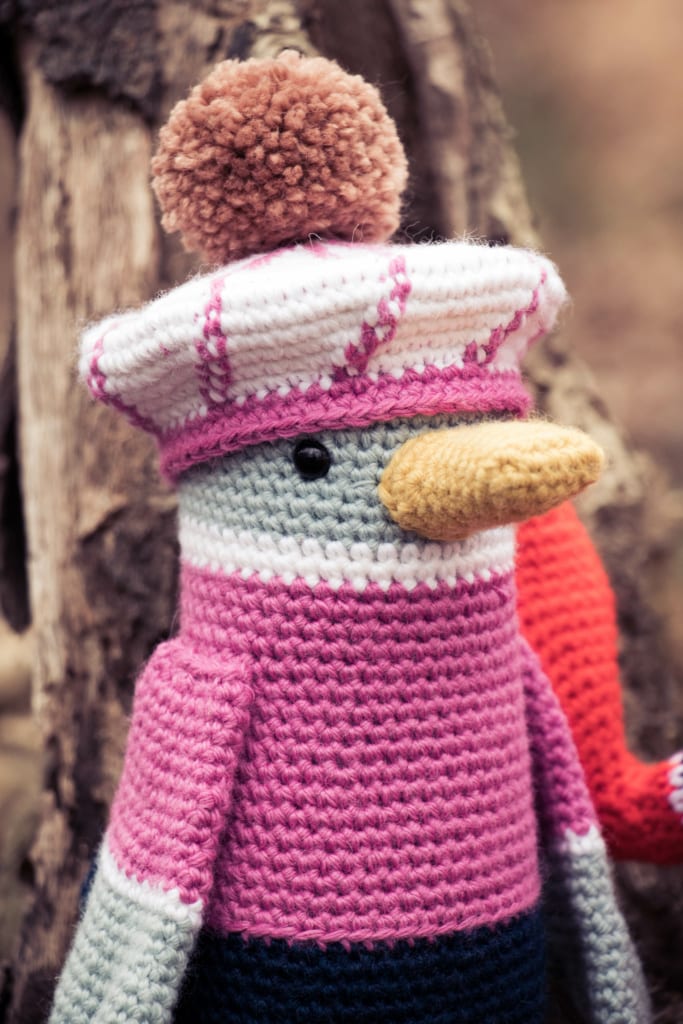
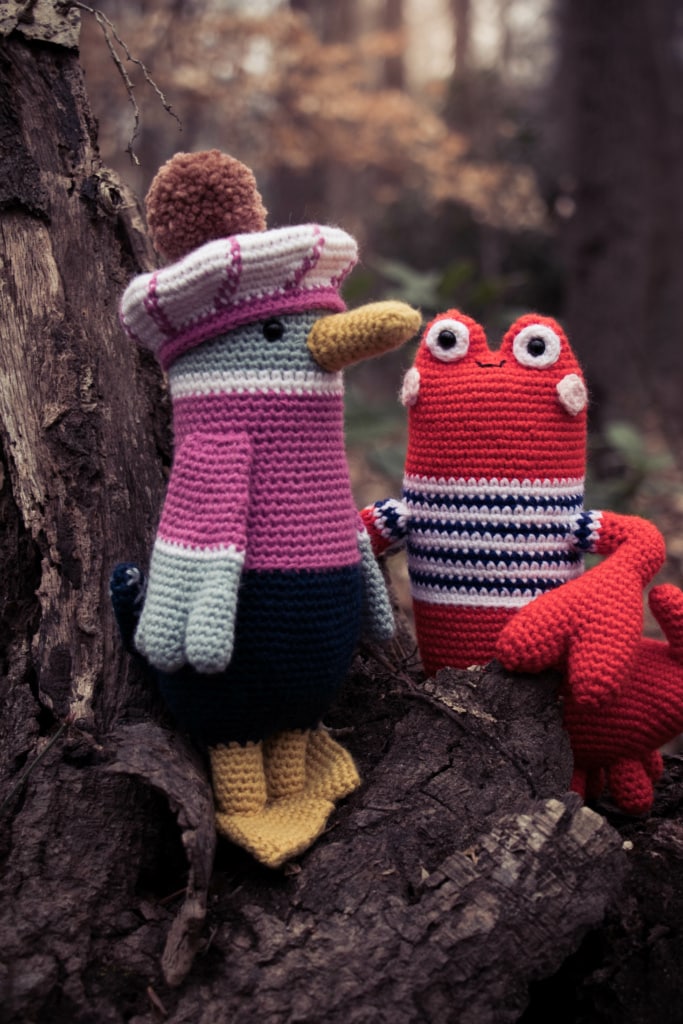
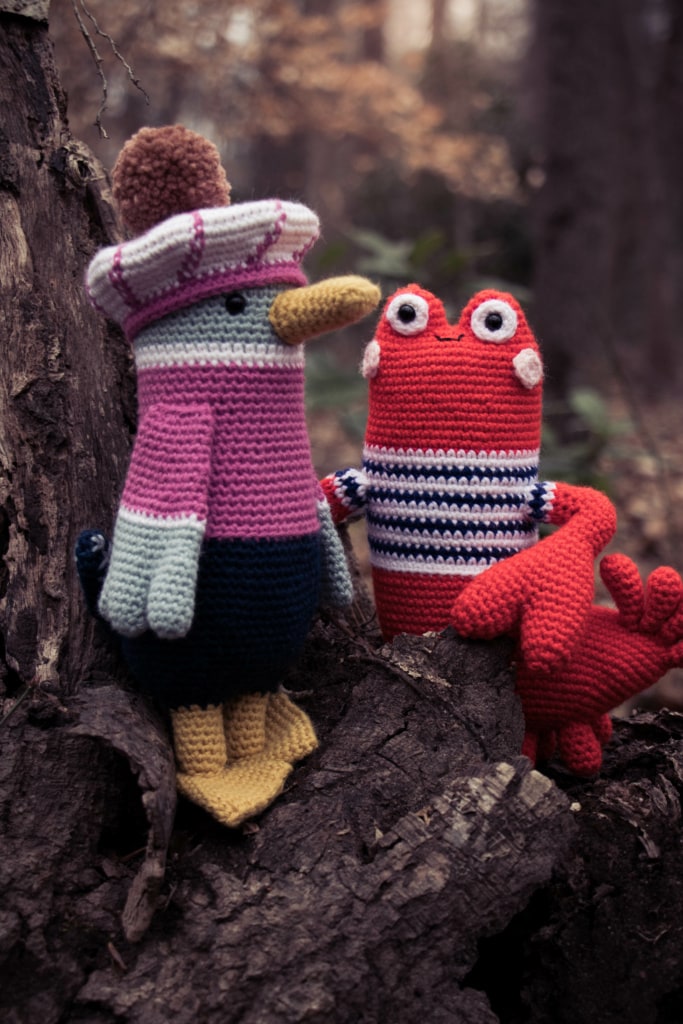
James Duck was the only pattern I’ve crocheted from the second book, but I knew exactly who would be my second.
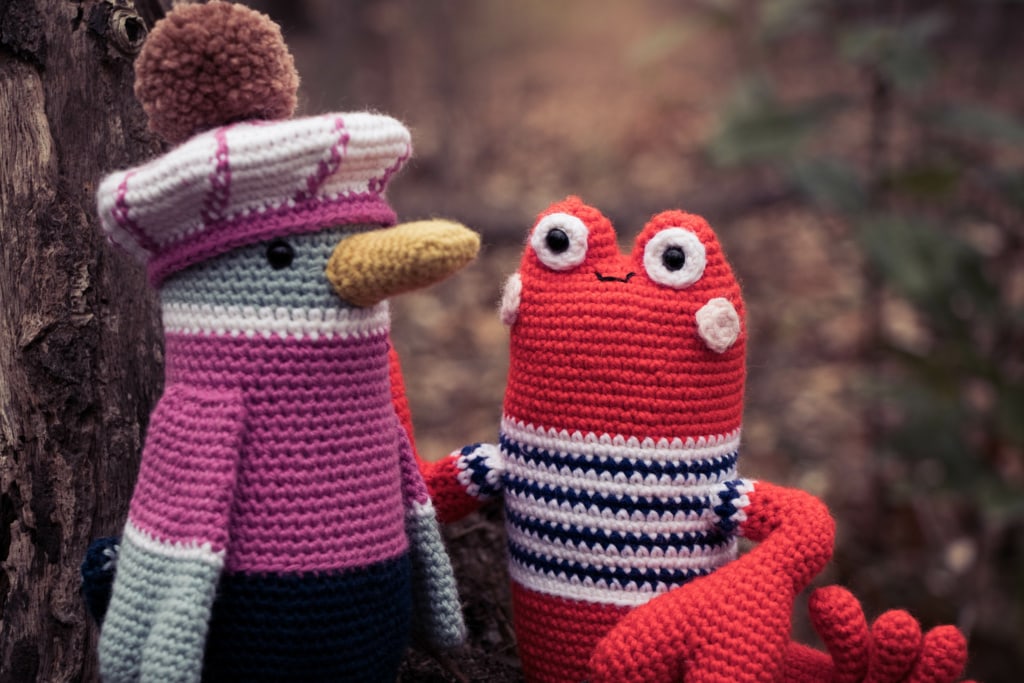
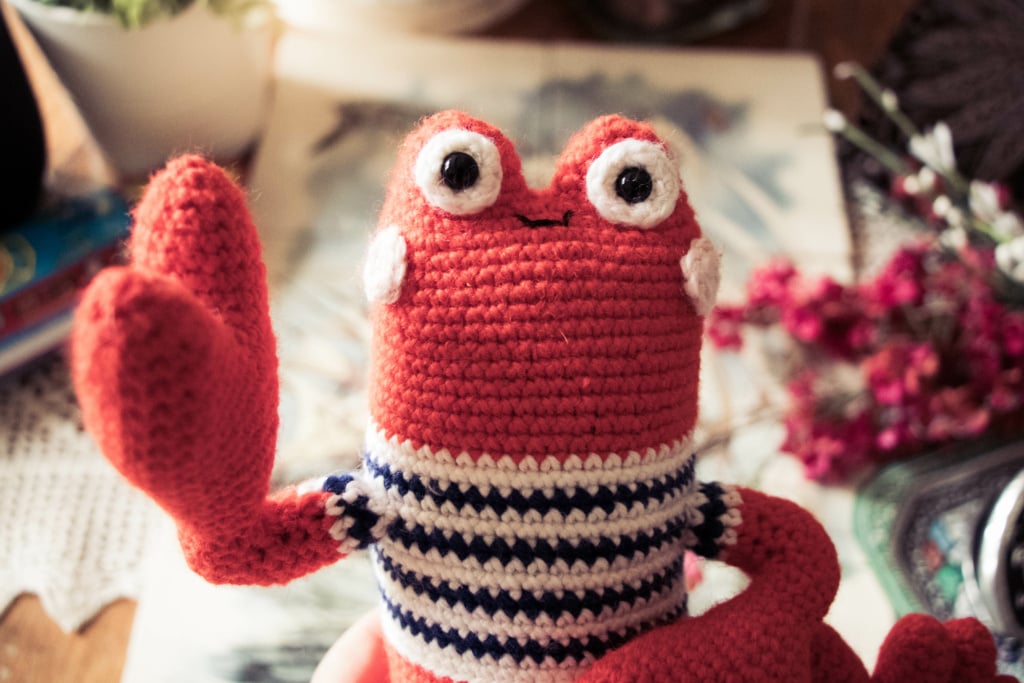
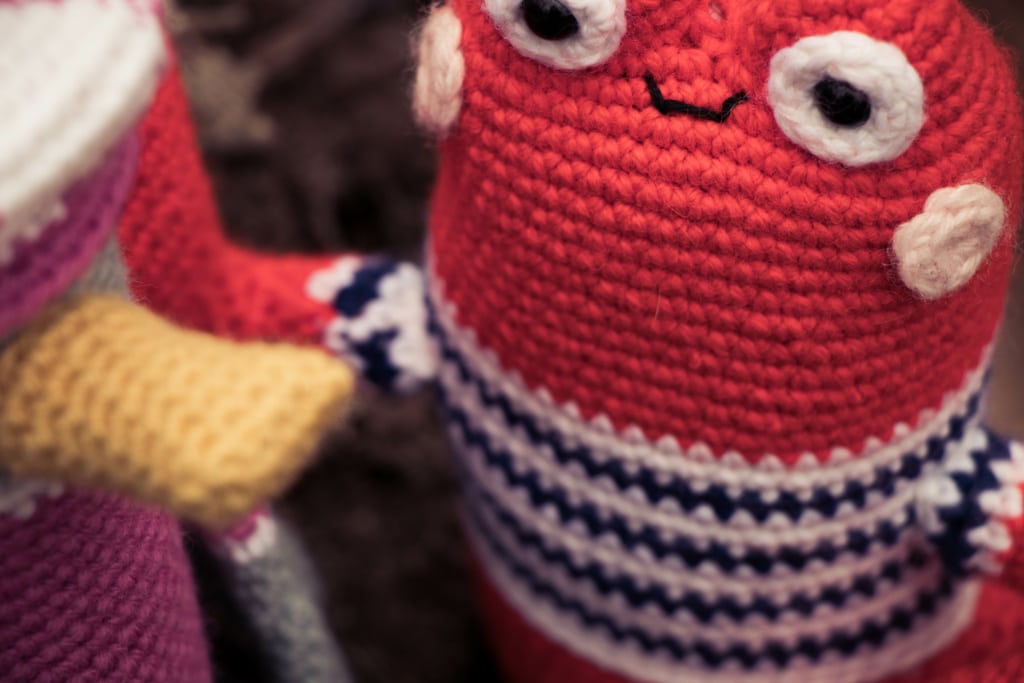
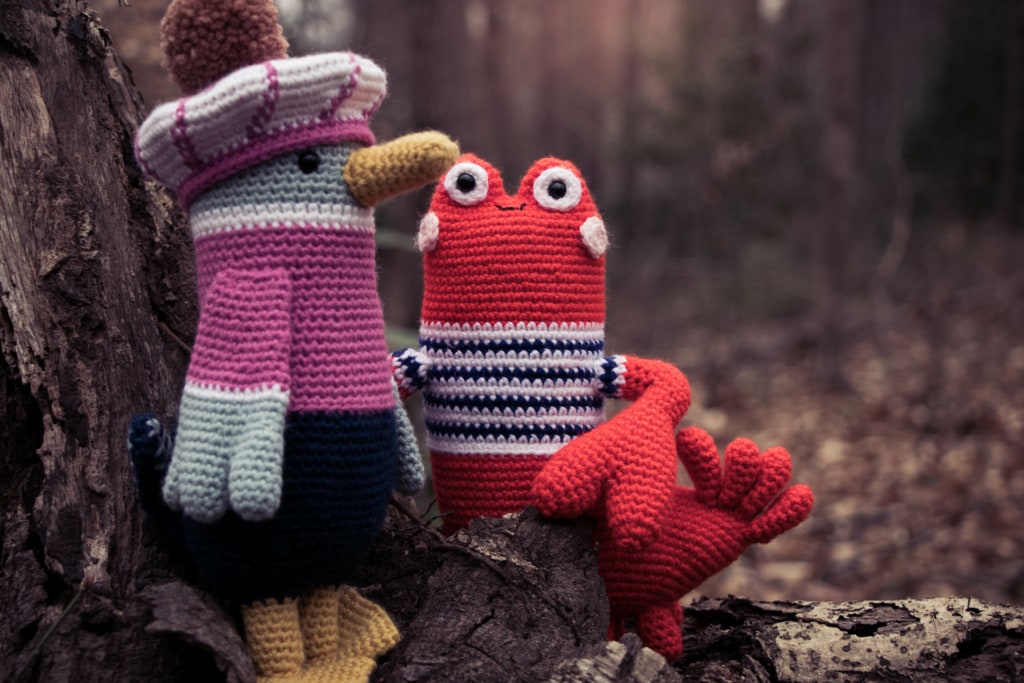
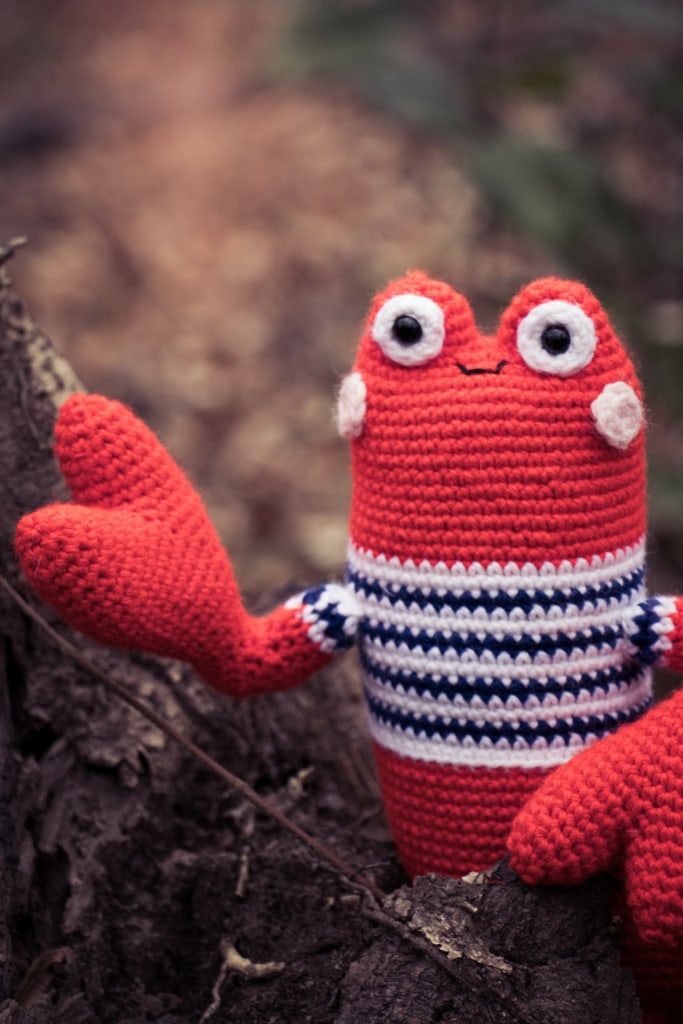
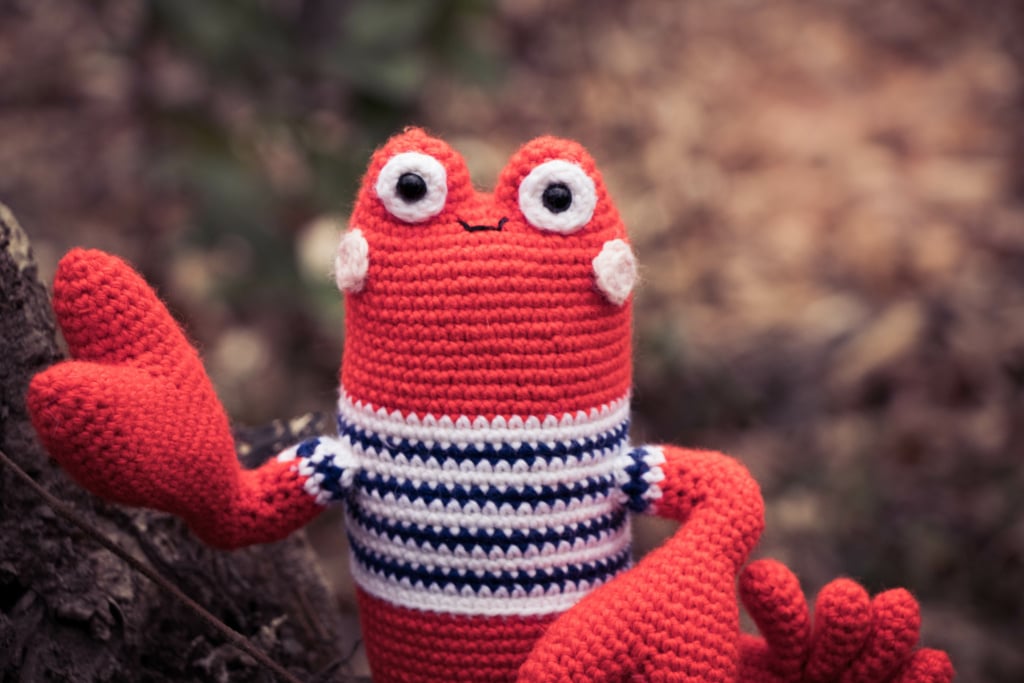
Have you ever seen a more adorable lobster before?
The goofy expression on the Lobster’s face drew me in right away. His friendly smile and big red claws made him a character I had to have in my life.
I also knew that the large sections of flat single crochets would be perfect for the yarn over vs yarn under for amigurumi experiment I had decided to conduct.
Initial Discovery
I had read in both Animal Friends of Pica Pau books that Yan Schenkel, the genius behind the designs, made her toys using the yarn under technique.
Surprisingly, I found yarning under to be incredibly difficult.
Typically I can make a magic ring and begin single crocheting quite rapidly. I’ve practiced it so many times, it’s like breathing to me at this point.
I mistakenly thought that yarning under would be just as simple. Boy was I wrong.
I had to retrain myself to make a single crochet in a way that felt completely unnatural.
Once I got used to making the single crochet with a yarn under I began noticing a few other things.
Tension
This is a biggie…the tension is tight, tight, tight when yarning under. This leads to a few notable differences.
Size
The resulting toy is a bit smaller than when making single crochets the traditional way.
I noticed the difference right away. Because I have made several of the Pica Pau patterns with the exact same Paintbox Wool Mix Aran yarn, I knew the sizes of the finished toys were roughly the same.
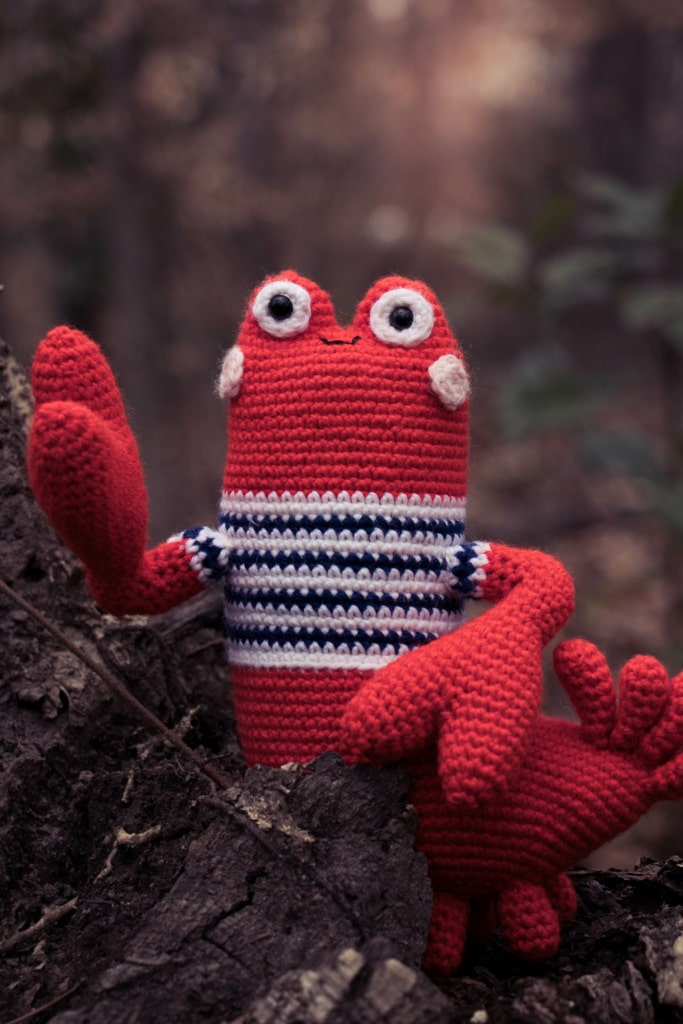
My little Lino Lobster, was indeed little. Way smaller than I expected.
I’m terrible at estimating sizes, but I’m going to try to attempt it anyway. The finished Lino Lobster was (in my grossly inaccurate “guesstimation”) approximately 1/6 smaller than the toys I have made using the yarn over technique.
This isn’t a negative thing, just something interested I noticed.
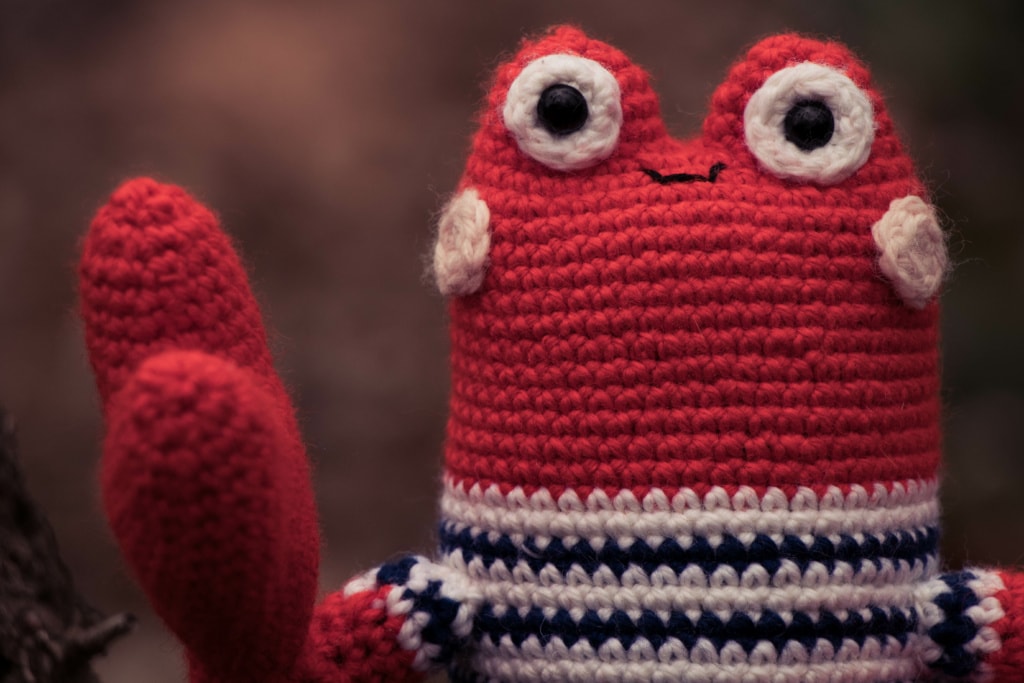
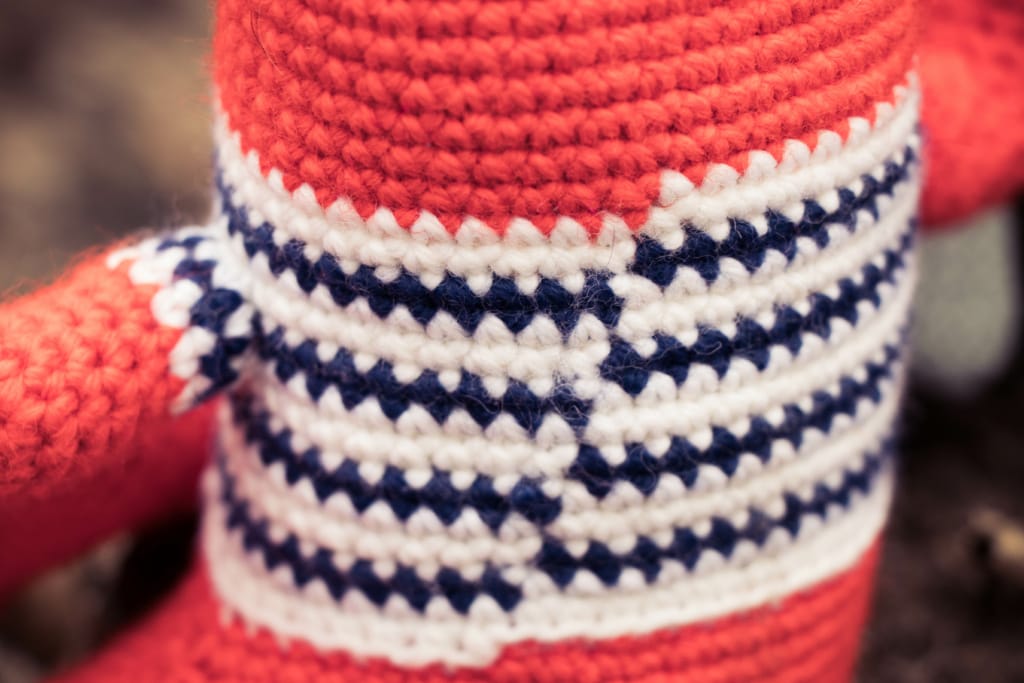
Fabric
The difference in the fabric was also quite a surprise. I naturally have a tight tension and am used to seeing tidy “V” shaped stitches on my crocheted toys.
The yarn under technique creates a very different looking fabric. It is neat and incredibly dense, but the stitches look very different to me.
Those who don’t crochet won’t notice a difference at all, but for those with a trained eye, will definitely see the distinction.
The stitches are just as neat, just different, and I found that fascinating.
Lean
If you have ever crocheted a toy before, you know that the stitches naturally learn to the right (if you’re a right handed crocheter).
It is especially noticeable if you are making color changes and you watch (sometimes in horror) as the color jog works its way across your toy.
When yarning under there is less of a lean to the stitches. It is definitely still there, but it is less noticeable, especially if you are doing any type of colorwork.
“….which will give nicer results when crocheting jacquard.”
— Yan Schenkel
You will find a fascinating photo of the differences between the two types of single crochet and how it impacts color changes on page twenty-three of the book.
The Problem
Within the first few moments of my “Yarn Over vs Yarn Under for Amigurumi” experiment, I knew there was going to be a problem.
My right wrist began feeling sore almost immediately.
I have struggled with joint and muscle soreness due to crocheting and knitting. And I work really hard to avoid anything that I know will trigger the pain and subsequent tightness I can experience.
You can read more about 10 Ways to Stop Pain from Crocheting and Knitting here.
There was no getting around this one. Between the natural tightness of the stitch itself and the way I had to turn my hand the pain began to settle in.
I could only work on the lobster for short periods of time because I could feel my muscles cramping up.
Abandonment
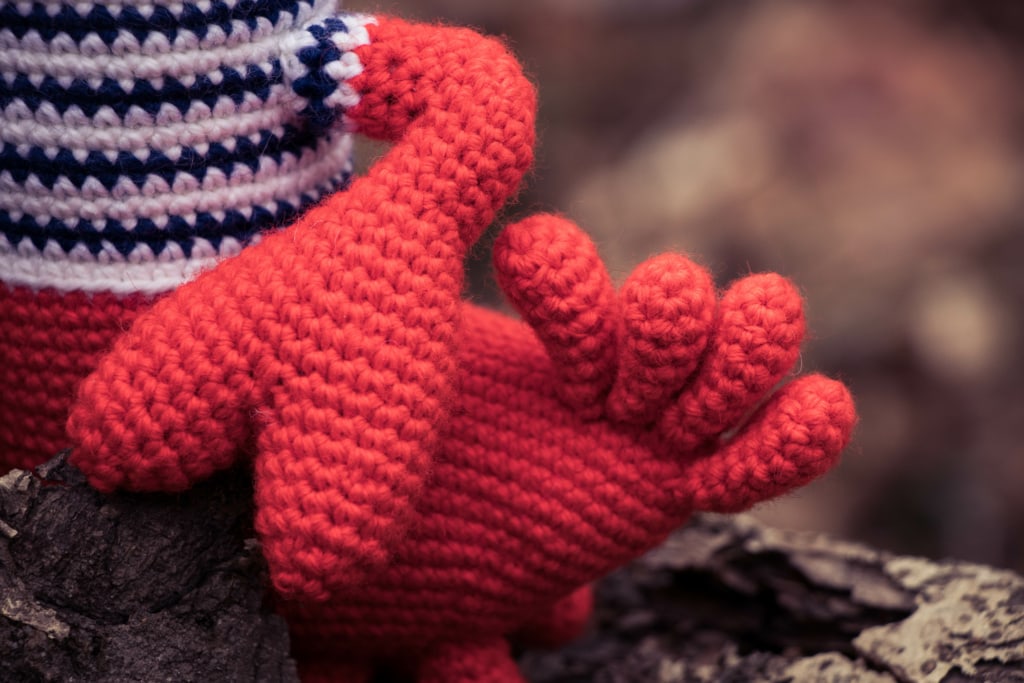
Eventually, I had to abandon my yarn under experiment entirely. It was actually causing me so much discomfort that I made the claws, tail and legs all with the yarn over single crochet.
While I don’t like that the proportions are slightly off, it was a necessary move on my part.
I was actually quite surprised at how different yarning over and yarning under was on my wrists, forearms and elbows.

Yarn Over or Yarn Under?
You may need to perform your own experiment to see which single crochet stitch is right for you.
There is no right or wrong, but what works for you. Make sure to take the above quiz, watch the video for the tutorial and make the decision for yourself!
Let me know which one you decide to do! Are you Team Yarn Over or Yarn Under?
Pin for Later!

You can do half and half! It makes a kind of Y shape. It’s a compromise! 😉
Thank you! There were a lot of comments on the Youtube video with the same suggestion! So great that we have three different ways to make a single crochet!