
Amigurumi Mistakes: Part 2
In Amigurumi Mistakes: Part 1 we dove headfirst into fascinating topics such as embroidering faces, counting stitching and stuffing body parts. If you missed that post you can check it out here. In Part 2 we are going to dive just as deep and focus on tension, yarn weight, color and seaming.
Amigurumi mistakes happen. Most can be corrected by practicing and perfecting techniques such as tension and seaming. Others are just a matter of personal choice like yarn weight and color preference.

Tension
Most stuffing problems really are a tension issue. I receive many requests to demonstrate how I stuff amigurumi. But I think most of the time the real question should be, is my tension correct?
Tension matters when it comes to amigurumi. Let me rephrase that… tension is tantamount to your amigurumi success. If you are a tight knitter or crocheter then this technique will work well for you. If you tend to be a bit looser you are going to need to tighten up those stitches.

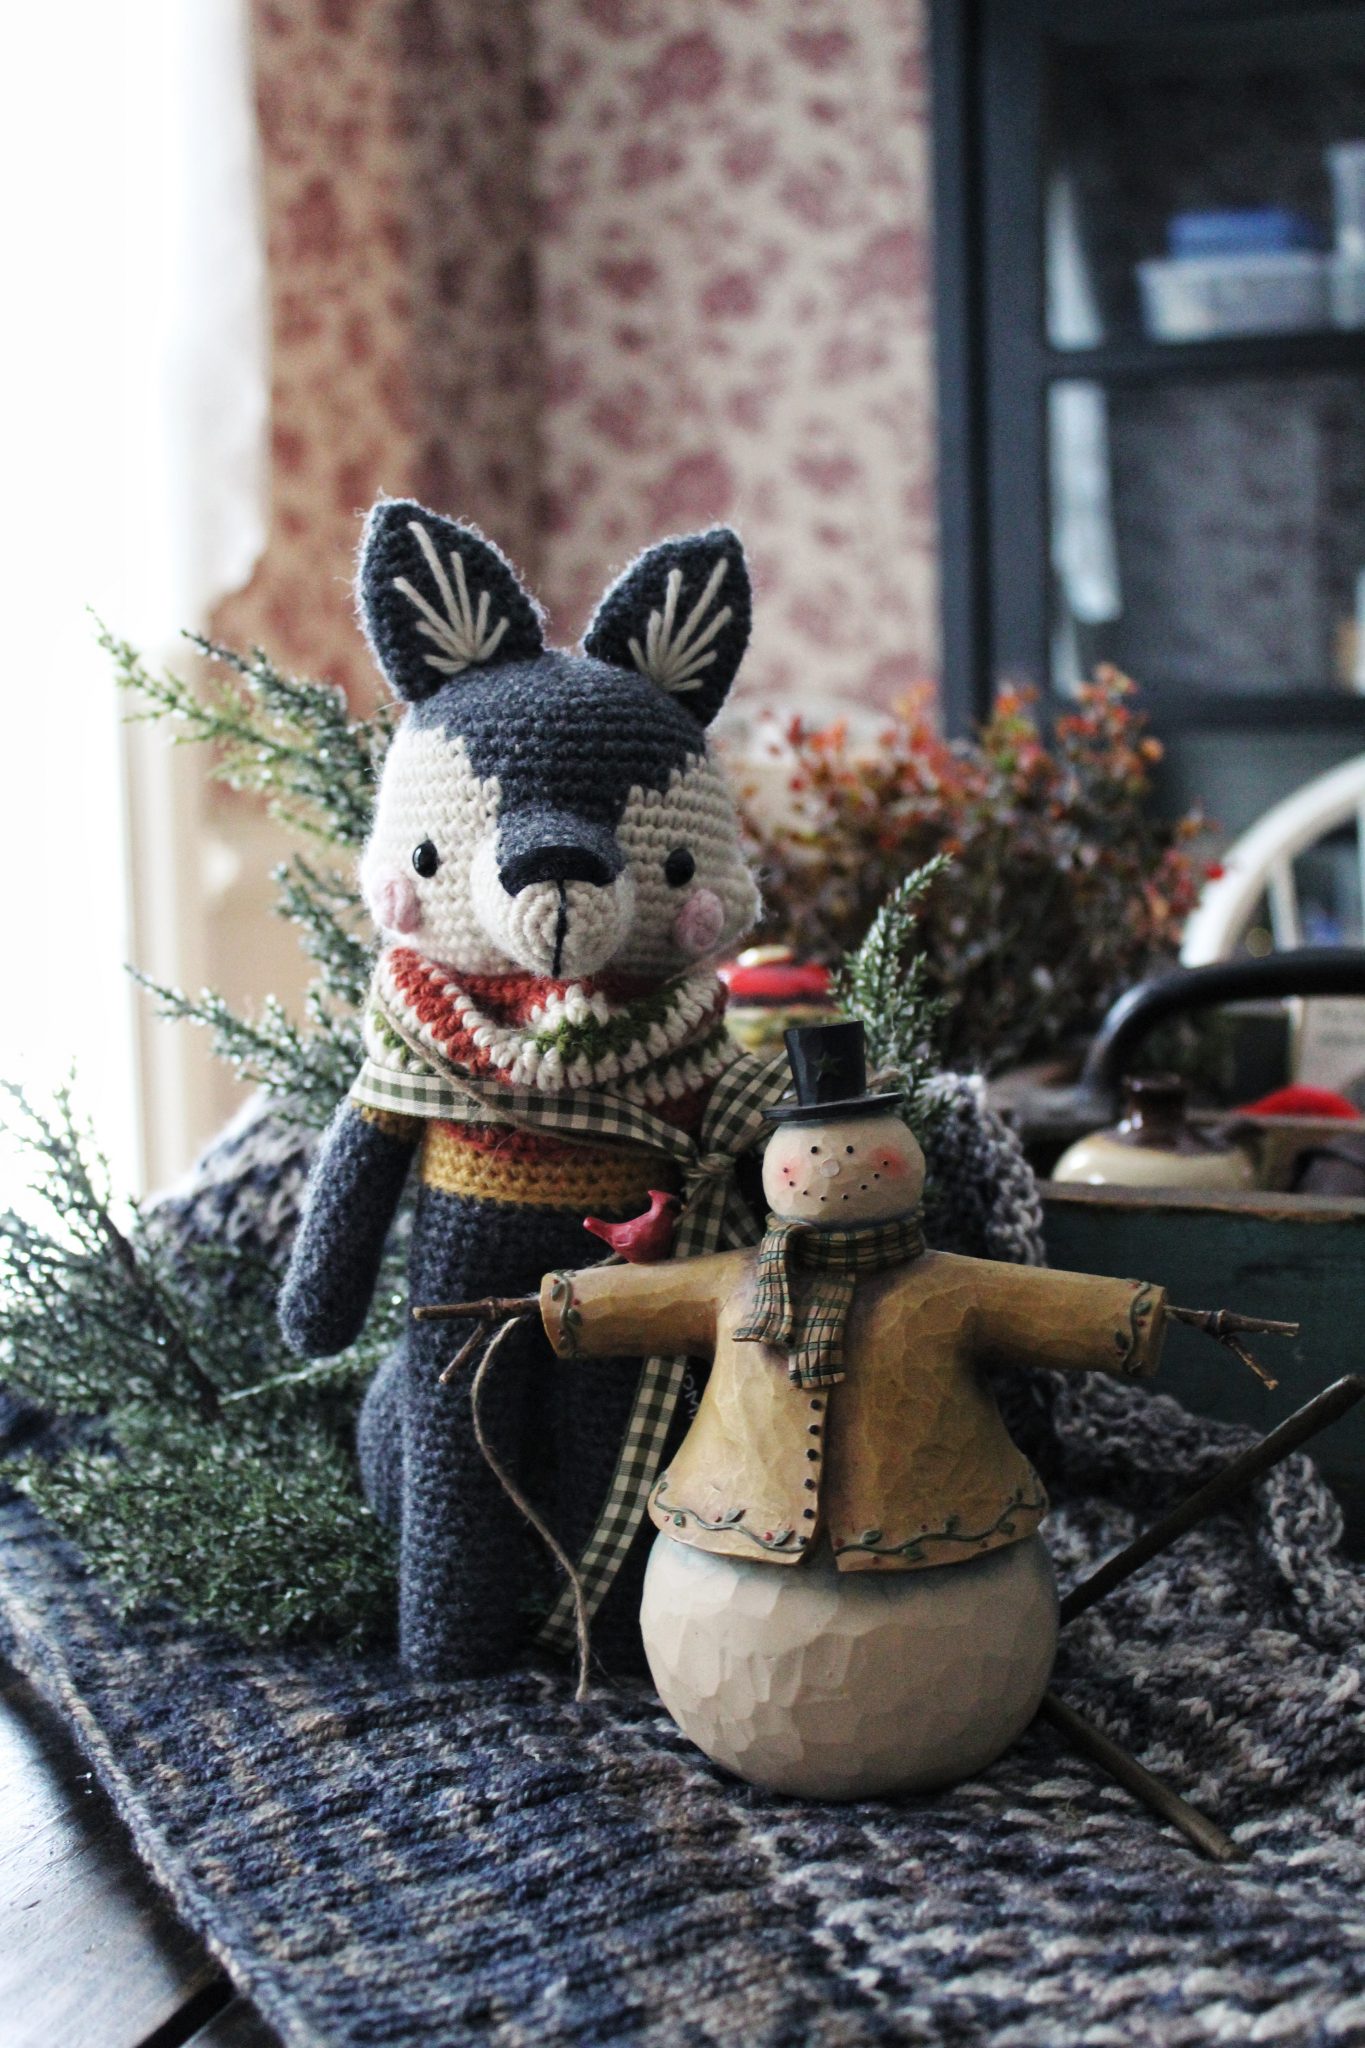
When it comes to stuffing, if your stitches are tight enough you shouldn’t have any issues with it peeking through. Choose the proper yarn weight and hook/needle size for the project. Most good patterns will give their recommendations and typically they are spot on. I have never had an issue when using a reputable amigurumi or knitted toy designer’s pattern.
Check out my Amigurumi Pattern Directory to see my favorites and where to find them.

Yarn Matters
There are so many wonderful options when it comes to yarn choices. Like with my tension recommendations, choosing a yarn weight that the pattern designer recommends is a good starting point.
From there you can get pretty creative when it comes to choosing the fiber. If you’re a cotton lover, use that. If you love wool, choose that! Do you have a stash of gorgeous acrylics? Use them! I’m a big advocate of using what you already have in your stash. But there is one caveat to help insure that your project turns out the best it can be.
Amigurumi projects need to be made with a strong yarn. I once used a gorgeous felted yarn that withstood my tight tension but ended up breaking during the seaming process. You can read more about that here. Choose a yarn that you can pull on quite firmly. If you begin to notice any tearing you may want to choose a different yarn.

Yarns I Recommend
Berroco Vintage Worsted (Acrylic/Wool/Nylon Blend)
Paintbox Wool Mix Aran (Wool/Acrylic Blend)
Paintbox Yarns Cotton DK (100% Cotton)
Paintbox Yarns Cotton Aran (100% Cotton)
Debbie Bliss Baby Cashmerino Sport (Wool/Acrylic/Cashmere Blend)
Amigurumi Book
This post contains affiliates links and at no cost to you I may earn a teeny tiny commission if you choose to purchase them. Please know that I only recommend products I use and love! Thank you for supporting Le Petit Saint Crochet!

Color Choices
This is my favorite part of any project. I absolutely adore putting different colors together and seeing how they look. Whether you are on Team Neurtral, Team Color or a combination of the two, pairing colors is a good skill to have in your back pocket.
One of my best tricks for putting color combos together is Pinterest. Yep, good old Pinterest is a gold mine just waiting to be tapped. Color experts in the home decor, wedding, and floral industries have done the difficult work for us. They have literally created color combination palettes and added them for our viewing pleasure. Yes, please.

When I have made a decision to use one or two colors for a project, but I still need additional colors, I search Pinterest. For example, if I know I want to use the color pink in my project, I type in “color palette pink” into the search bar. I watch in utter amazement as countless color palette combos flood my screen in happy abandonment.
You can even narrow down your search by adding the exact shade of the color you’re looking for. Add exact terms like, dusty rose, rose gold, ballet pink, or vintage pink. The options are endless. There’s nothing to fear when choosing beautiful color combinations since the experts have already done the hard part for us.

Seaming
Let’s just talk about the elephant in the room. We all hate seaming. No one likes it, but it is a necessary evil. While there are some crocheted amigurumi and knitted toy patterns with little to no seaming it is still a skill that any toy maker should have.

If you would like to see my specific technique for sewing parts on toys check out my blog post here. But here are the cliff notes:
This is also another area that can be finicky for beginners. There are lots of tutorials on YouTube for how to do it and in my video I show you how I sew on the snout and arms. I use two different techniques for each one and there’s good reason why. For the snout I am extra careful because sloppy sewing will be quite noticeable. I go over and under each stitch on the snout and then catch a stitch on the face closest to that point. I pull it taut but not enough to distort the fabric. I typically will go around something circular in shape more than once to make sure I pick up each stitch.
For the arms and ears my goal is to make sure those suckers don’t come off! I employ a little different technique. I make horizontal stitches in the top of the arm and then anchor them with another horizontal stitch in the body. I pull it quite tight to secure. My stitching here doesn’t need to be as neat because it will blend into the body and won’t be very noticeable.
From Amigurumi 101: Part 4 – Finishing Touches

Surprisingly I use the same technique for sewing on body parts for crocheted or knitted toys. The only real difference is that for crocheted toys I tend to be pretty rough and pull the stitches tightly. For knitted toys I am more careful and pull only until it is secure. Because knitted fabrics are more stretchy pulling too much will distort and cause it to be misshapen.
One of the best video tutorials for how to mattress seam came from my friend Katie. Check out this video from the Knit Purl Hunter on Youtube.
Focus on the Details

The overarching theme of both Amigurumi Mistakes: Parts 1 & 2 is to focus on the details. By keeping these elements at the forefront of your mind you will create gorgeous toys you will cherish for years to come.
Pin for Later!


Love your color palette tip! I’m going to use that for other projects!
It is soooo helpful! I’m glad you liked it, Jenn! 😘😘😘
I can’t even say Amigurumi once lol. I sometimes like doing the meticulous details like sewing a body on and sometimes not so much. I love your video! I knew that wasn’t an elephant but have to cheat and write rhino and not the long word. Lol. So detailed, thank you for all this. Someday I will have to give this a try â¤ï¸
Thanks so much, Jersey! My words just weren’t working and I was on the amigurumi struggle bus! 😂
Read this again, what a great wealth of information. You’re so talented and it shows! Thank you so much for the time spent on this 🙂
Awww, thanks so much, Jersey!! 😘😘😘
I love your tip for using Pinterest to search color palettes! Great tips over all. Thank you for sharing. I always learn so much from you. â¤ï¸
When I discovered the Pinterest trick a whole new world opened up for me! Thanks so much for your kind words, Amy! 😘😘😘
That little pig is the CUTEST!!! We raise pigs and I would love to learn to make these little toys before we have our next little one – thank you for the tips and tutorials!!
Oh you have to learn since you raise them! How fun would that be?!?! ðŸ·
I finally feel like I am comfortable with tension now and I’ve been crocheting for years. It takes some getting use too. I like that you recommended some different yarns. I’m going to check them out. I love shopping for yarn.
Yarn shopping is so much fun! Tension is definitely something that takes time! And then when it clicks it’s wonderful!
I love using Pinterest for colour palettes! There are so many different ideas to choose from and I know I can’t be trusted to make my own palette, so it’s a lifesaver. And that dress you made for the pig? Adorable!
Pinterest is amazing! Thanks so much! ðŸ·ðŸ·ðŸ·