Craft Room Makeover: Before and After
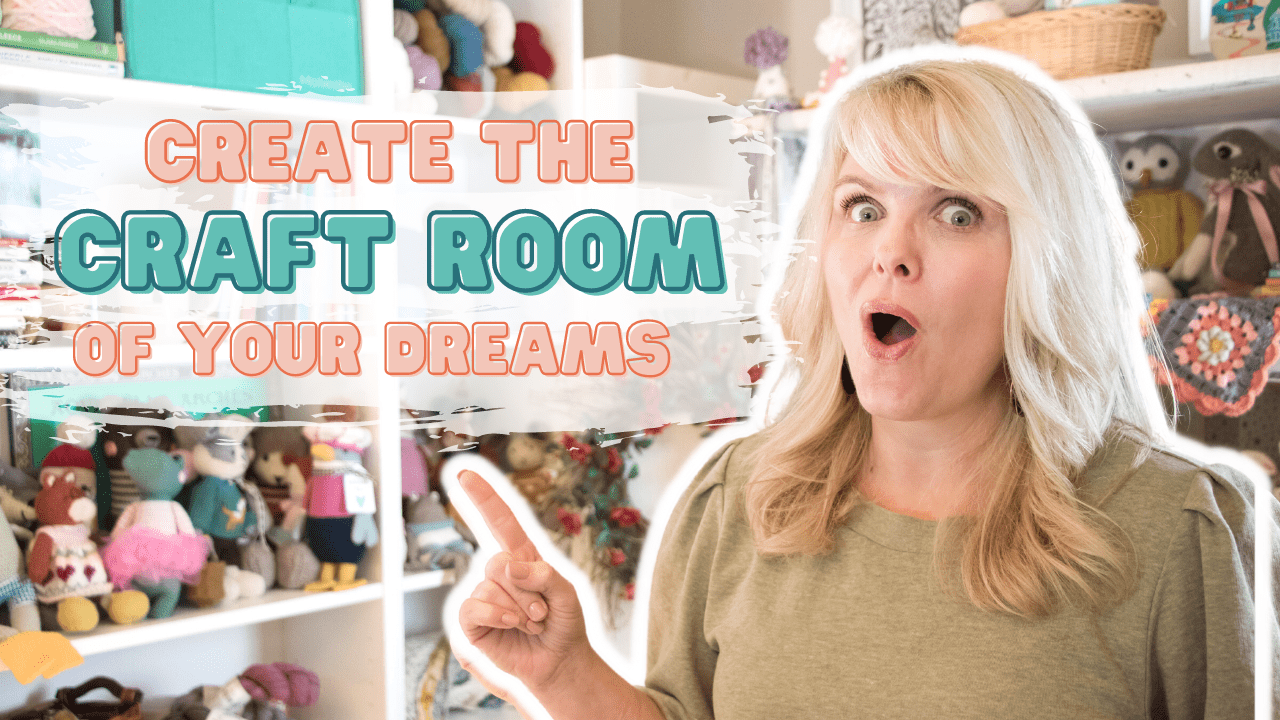
A craft room makeover can be a daunting process, but with a little planning it can become your dream space. I’m sharing the before, during and after process of my own craft room makeover and I couldn’t be happier with how it turned out!
Now don’t judge me. This is a little embarrassing. I am so excited to share my brand new craft room makeover with you all, but I need to be honest. It didn’t always look presentable. This poor room has been a dumping ground for quite some time. While I’m super excited how it all turned out, I thought it was more honest (and helpful) to share the before shots as well, not just the after.

Before

This was and still is my laundry room. It’s actually a pretty decent size but it’s in my basement and quite dark. I have no natural light in this room. This space also served as a closet for all four of our children when they were growing up. Because I didn’t want to lug clothes up two flights of stairs to their rooms, it was just easier to have them all in one spot, next to the washer and dryer. And for years that worked well for us.
But now that two of my children have moved out and only two big kids are left at home, the space was seriously underutilized. It was also filthy, disheveled, and depressing. I never wanted to be in the room because it just made me feel sad.
I got the idea to reclaim this space just a couple of weeks ago. I was trying to film a tutorial in my kitchen while my boys were doing their homework. They were being loud and I was in their space huffing and puffing from frustration. I thought to myself…
“I wish I had a space of my own, with a worktable and storage.”
Me
Suddenly the idea dawned on me that I had a room that was a wasteland of dirty clothes, paper towel storage and stinky shoes. I could claim that space for myself and turn it into the craft room of my dreams. (Can you hear the angels rejoicing…no just me?) I was incredibly optimistic and bullheaded about my redesign and immediately started to plan.


After
I am so incredibly excited to have this space. I think it’s beautiful. It’s bright and full of happy colors. I have a place for everything I need. But let me just stop you right here and let you know one very important fact!
It doesn’t have to be perfect to be great.
Me
You read that right. My space isn’t perfect. I still have concrete block walls, chipped concrete floors and insulation filled ceilings. But you know what, I don’t care. I love it. I am perfectly happy in my imperfect craft room.
If you would love to have your own area for your crafting addiction here are a few tips.
- Think outside of the box (or room).
- Measure your space to scale.
- Access your needs.
- Shop before you shop.
- Make it your own.
Think Outside of the Box (or Room)

Until I really began problem solving, I didn’t realize that I already had the perfect room in my house. I had tried to make our upstairs spare bedroom into a craft room earlier this year but it wasn’t working for me. It was too small to function as a bedroom, for when our daughter comes home from college, and a craft space with room to work and store yarn.
Maybe you are like me and have a basement that isn’t so pretty. It doesn’t look like the gorgeous bright spaces that you see on Pinterest. Get creative! Or maybe you only have a corner of a bedroom that you could claim as your own, look for a solution.
You don’t have to have a large home or a small family to be able to have a craft room of your own. IKEA has so many ingenious small space solutions. Check out their website and Pinterest for ideas. Start thinking outside of the box and see if you carve out a space all your own.
Measure Your Space to Scale

Measuring to scale is the most important tip. Please don’t skip this step. Even if you have a large space, measuring will help you design a room that functions for your needs.
I always thought drawing something to scale would be super difficult, but the way I did it is simple. First measure your room, and by that I mean measure the length of each wall. Once you do that, divide each number by a number you choose. For example the length of one of my walls is 176″ I divided that number by 20 and got 8.8. I measured 8 3/4 on my sheet of paper. I divided each wall measurement by 20 so that they were all to scale.
This didn’t need to be super precise for this room, I wasn’t having something built, but I needed approximate measurements. Once I had the room drawn out on paper I could visualize what I needed and where it would go.

Access Your Needs

Accessing your needs is a critical step in your craft room makeover. I knew I needed storage, not just for my yarn and supplies, but also for my laundry area. This room needed to dual function. I also wanted a nice worktable that I could film tutorials on and do computer work. Bookshelves and peg boards were also on the list.
I needed to brighten this space up since it is a naturally dark area. I wanted everything to be white with a few pops of color. This space needed to be pretty as well. I wanted it to feel happy and fun.


Shop Before you Shop

Armed with my measurements and my needs list I was ready to do some shopping. I am fortunate enough to live in an area with an IKEA, which is affordable as well as functional. They are masters at small space storage with style.
But before I girded up my loins and headed to the store, I did my planning online. If you have never been to an IKEA before let me just share that the size is overwhelming. They have a showroom as well as an actual storefront. There are rooms upon rooms of ideas and beautiful spaces. If you don’t plan before going, you may walk out with too much or nothing at all.
I have a tendency to become completely overwhelmed in IKEA so doing my homework before we stepped into the store was critical. I looked for storage solutions that I needed and used their measurements to decide if it would fit in my space.

Here are some of the pieces I ended up purchasing that work perfect for my craft room makeover:
- Kallax Shelf Unit
- Billy Bookcase
- Strandmon Wing Chair
- Jules Desk Chair
- White Storage Cabinet for Laundry
Make it Your Own


I scoured Pinterest for craft room makeover ideas and thankfully I found a ton. There are so many gorgeous craft rooms out there and I enjoyed being inspired by their innovation as well as their decoration. Each one was beautiful and functional, which was my goal.
Many of the ones I was drawn to were light and bright. They had incredible storage solutions and had pops of bright pinks, vibrant yellows, and lime greens. Without even thinking I began to plan my room with the same color palette. I began choosing items that looked like they fit in those craft rooms.
My daughter wisely pointed out, hey mom, those aren’t your colors. She agreed that the spaces were gorgeous but they weren’t me. While I’m naturally drawn to darker colors I needed to keep the space bright otherwise it would just look dingy and dark.

When I happened to stumble upon these gorgeous Scandinavian prints I knew I had found my decorating inspiration. They met the criteria for being light but had some of my favorite colors, red and dark gray! I began planning the entire look for the room around these two prints.
Go For It!
I am so incredibly happy with the way my little space turned out. It is everything I wanted in a craft room makeover. It’s bright, it’s light, it functions, and its soooooo pretty. I spend so much time down here in my little room… and I’m even staying on top of the laundry for a change.
If you have a space in mind, go for it. I was so worried my vision would be a huge flop, but I’m glad that didn’t stop me from trying. Take these five steps to create a room you love:
- Think outside of the box (or room).
- Measure your space to scale.
- Access your needs.
- Shop before you shop.
- Make it your own.
I would love to hear from you! Let me know if you have a craft room you love or is it still a dream for you?
Pin to Save for Later!





Wow your space looks amazing! I’d love a space of my own, though I do seem to be taking over the house with craft supplies!
Haha! That’s how I was feeling! My stuff was everywhere and frustrating me and everyone else. It’s just nice to have it all in one place and neatly organized!
This an amazing transformation! You rock GF, I’m sure Olive was a big helpâ¤ï¸â¤ï¸
She was a really big help, lol!! She loves going in that room with me!
I love it! So inspiring. I need to find better storage for my craft supplies. Thanks for mentioning Ikea, I will definitely check out what they have.
Thank you so much, Stephanie! It is so nice to have a space dedicated to my craft! Ikea is absolutely incredible for storage solutions!
Wow, so inspiring! You did a great job. I don’t think you should be embarrassed at all. It’s real. It’s life. It’s real life. LOL
Lol!!! It definitely is real life! That room had just become such a dumping ground and not functional at all. Now I am so happy that it not only looks so much better but that it functions so much better!!
I love that you took an unused room and transformed it into a functional place that you love! What great inspiration. And I totally agree about IKEA, if you don’t have a plan you will totally be overwhelmed!
Thanks so much, Emily! I don’t know why it took me so long to figure out that this room would be perfect! 😂😂😂
Wow! This is amazing. What a transformation. I’m sure you feel like a new person after that. Loved the kitty too!
Thanks so much, Alexa. I do feel like a new person! It’s amazing how our surroundings affect how we feel!
Love the transformation! I agree with you about IKEA, best to shop online before going in store. I use the Kallax shelving too and love it.
Seriously overwhelming!! I can’t just browse in there, either I’ll leave with nothing but a headache or buy stuff I’ll never ever use! 😂
I’m actually right in the middle of doing this in my own laundry room/family closet! Thank you for the inspiration! It’s so pretty!
That is awesome!!! Such a coincidence! You will love having your own space!!! Good luck! â¤ï¸âœ¨â¤ï¸âœ¨
This looks great! I bet it’s even more fun now crafting!
It is awesome! I love it so much!!
Looks great! My “office†is wherever I can squeeze myself and my laptop! Great to have a bright area to bring on the ideas!
Thank you so much! I am enjoying this space as much as I thought I would! â¤ï¸âœ¨â¤ï¸âœ¨
I LOVE this!!! I am working on our mud room/laundry room. Also a dumping ground and catch all space! You have inspired me to keep going! My before pics look worse than yours!😂
Thank you so much, Jenn!! I don’t believe you about your room being worse than mine! 😂😂😂
It’s gorgeous, Elise! You have a real flair for design, and those Scandinavian prints are a dream. I love that you repurposed a dingy room and turned it into something beautiful. I really need to do that with my basement, so you’re inspiring me to sit down and start planning!
Thanks so much, Sylvia! I had so much fun putting this room together and I am over the moon with how it turned out!
Looks great! So light and bright! And I really enjoyed your quote!
Thanks so much, Katie! Light and bright were so important since that room has no natural light!