
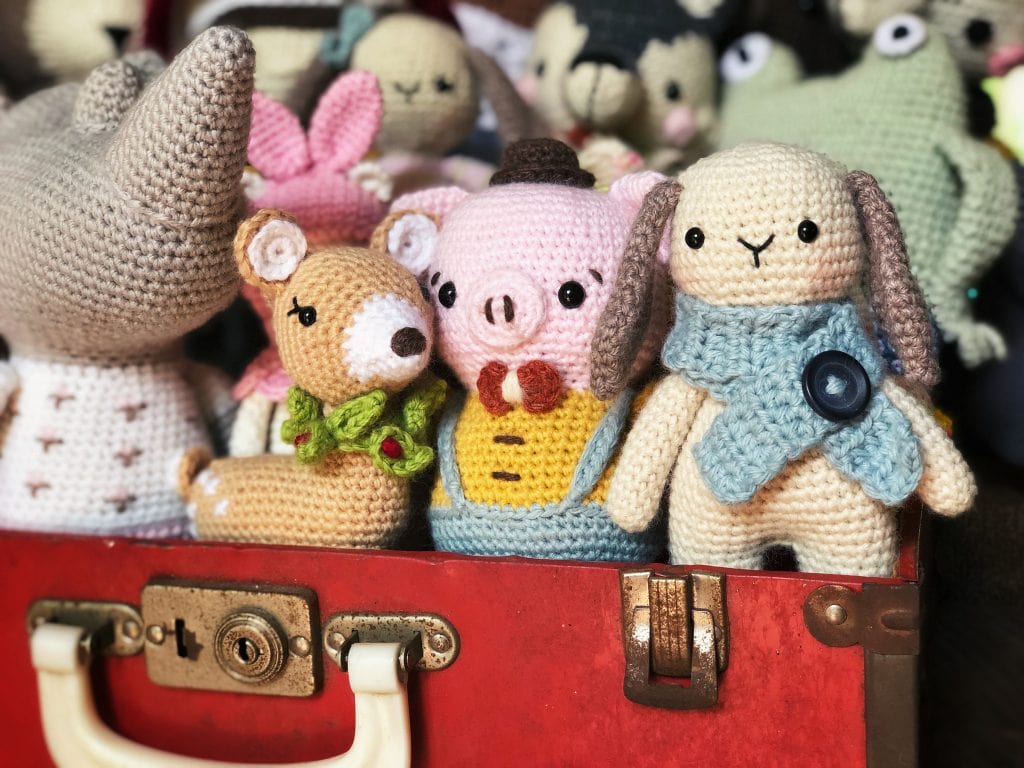
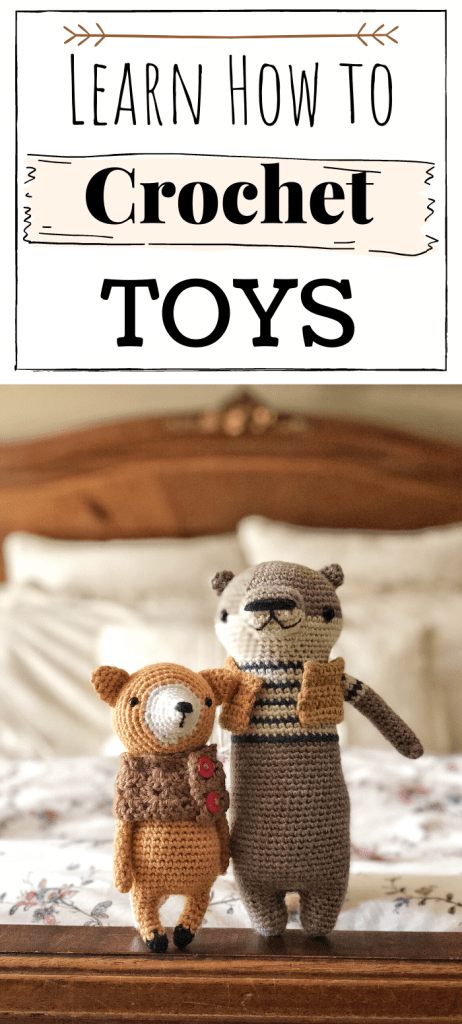
Amigurumi 101: Part 3 – Basic Skills
Every craft has basic skills that must be mastered before the individual can move on to more advanced techniques. Think of the ballerina who spends years at the barre perfecting the five positions of the feet. She cannot star as Clara in the Nutcracker until she knows those basic skills up and down, inside and out. This is also true for crocheting amigurumi. The fundamentals matter and once they are mastered the possibilities are endless!
Before moving on to this stage please make sure that you have visited my first two blog posts in the Amigurumi 101 series!
Never Give Up: Amigurumi 101 – Part 1
Choosing a Pattern and Color Palette: Amigurumi 101: Part 2
The form you have selected does not exist.
Amigurumi Basic Skills Video
These five techniques are best viewed in video form and I have created one especially for you!
Basic Skill #1 – Single Crochet
The most important basic skill you should master for amigurumi is the single crochet stitch, abbreviated as “sc”. Making amigurumi requires crocheting this simple stitch over and over and over again. It is often overlooked, but it creates a wonderful, tight fabric that is perfect for making amigurumi. You will come across other stitches that work in tandem, but the fundamental stitch that every amigurumi pattern I have ever come across is the single crochet.
Basic Skill #2 – Magic Ring

I have yet to make an amigurumi pattern that didn’t contain at least one magic ring. Mastering the magic ring will make crocheting toys a walk in the park! I have found after teaching techniques for making amigurumi that this is the trickiest skill. Making a magic ring isn’t difficult but it does take practice. It can feel awkward in the hands until the tension is mastered. After practicing this technique over and over again I can make them in my sleep, and you will too!
Basic Skill #3 – Tension
Tension is another skill that will ultimately make your amigurumi look better and better. Typically small tight stitches work the best when making crocheted toys. The goal is to have a fabric that holds its structure as well as keeping the stuffing from showing through. My earlier amigurumi toys have looser stitches and that is obvious from how the stuffing peeks out between the stitches. This skill will come with time, but try to make those single crochets small, consistent, and tight.
In the video I demonstrate how I use my left forefinger to keep the tension tight. (I am a right handed crocheter) After I complete each single crochet, I use that finger to pull my working yarn just a tad to make sure that stitch is as closed as possible without distorting the fabric shape. I exaggerate the movement in the video so that you can see exactly what I mean.

Invisible Decrease
The invisible decrease is one of the essential techniques an amigurumi maker should master. It’s actually quite easy and won’t take long to learn at all. You make an invisible decrease by working over two stitches. You place your hook underneath the front loop only of the first stitch then again in the front loop only of your second stitch. Then pull the yarn through both loops, you should now have two loops on your hook. Finally pull the working yarn through both loops and voila, you’ve made an invisible decrease!
Changing Color
Many amigurumi projects will include color changing, but don’t freak out! It’s a really simple skill and you’ll have it down in no time! Make your single crochet just as you normally would. Before finishing the stitch, when you have two loops on your hook, pull the new color through to finish the stitch. By doing this you will finish the previous stitch in the old color and be ready to make the new stitch in the next color! Easy peasy!

Right Yarn for the Right Hook
Setting yourself up for success is one of the most important things you can do before you ever make a toy! Choosing the right yarn for the right hook is critical. Usually a pattern will give you the yarn they chose for the project as well as the hook size. At this point I rarely use their recommendations for crocheted toys as I have my own preferences. I always use a 3.5 mm hook (size E) and a worsted weight wool mix yarn. I like the size of the toys made from worsted weight yarns and I have found that an E hook works perfectly with it! It creates the structured fabric I like and no stuffing peeks through!
Visit my blog post to see which yarns I recommend: Yarn Recommendations

Practice, practice, practice
Practicing these skills over and over and over is the best way to master them. The good news is that practicing them is so much fun! There will be times when you become frustrated, but don’t give up! Pushing through those moments will result in stronger skills and more confidence in making crocheted toys! As always I am here to assist you in any way I can! Let me know how your progress is going!
Pin for Later!


You are so encouraging Elise! I know one day I will be able to make these little cuties!
Thanks so much, Katie!! I know you will too! 😘😘😘
Great tips! I’m a E hook user too!
Wonderful tutorial! You are a natural in front of the camera! You had me at â€you can do it†and â€keep practicing â€.
Haha!! Thanks so much, Angela! 😘😘😘
This is so thorough! I am hoping to get my daughters started in this!
That is great!! Let me k ow if y’all have any questions! I would be happy to help! 😊
excelent advice, tips and tricks. Brava!
Thanks so much! Glad you liked the post!